This DIY Pumpkin Jelly Shot Holder From Tiktok Is Sure to Get the Party Started

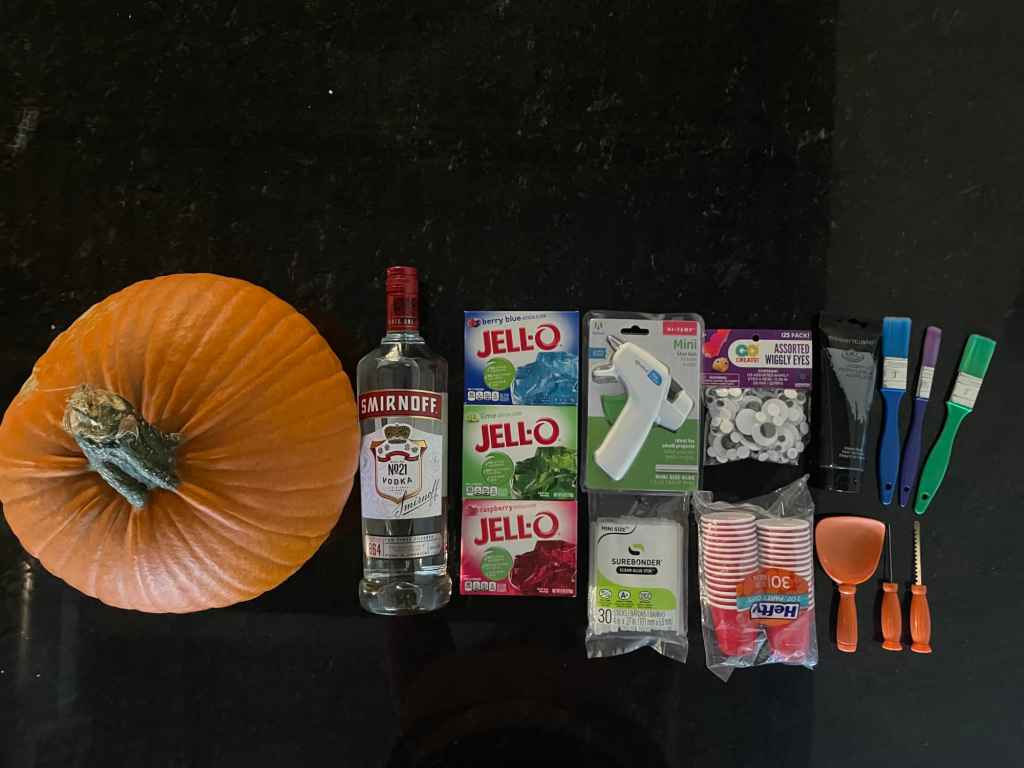
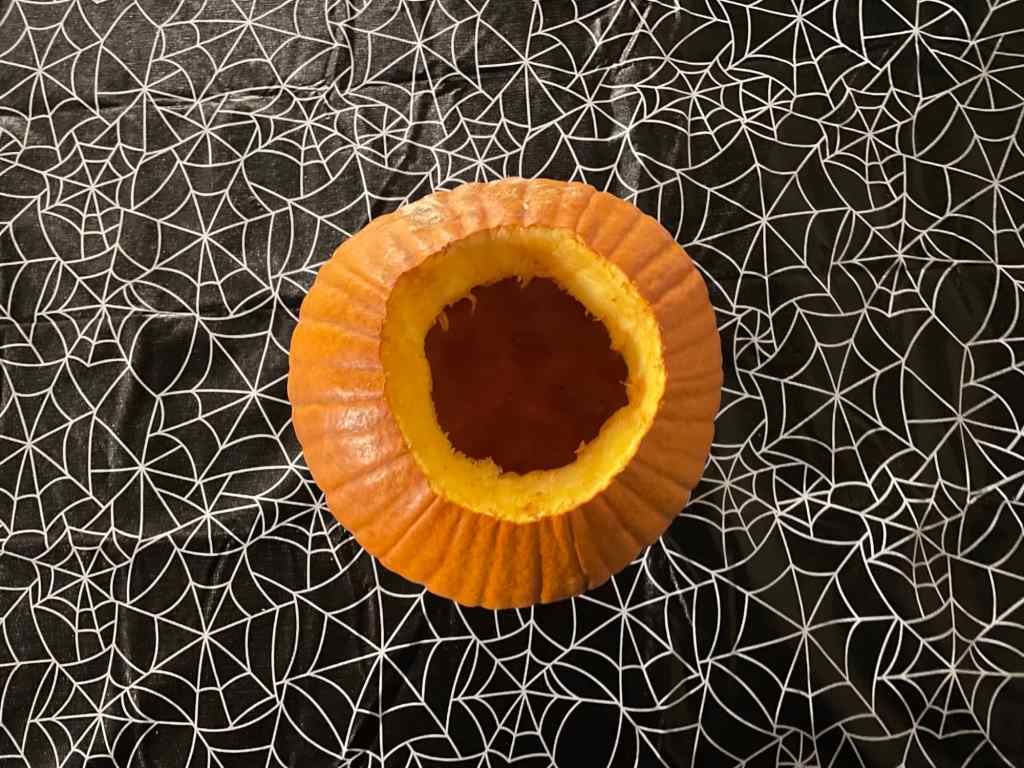
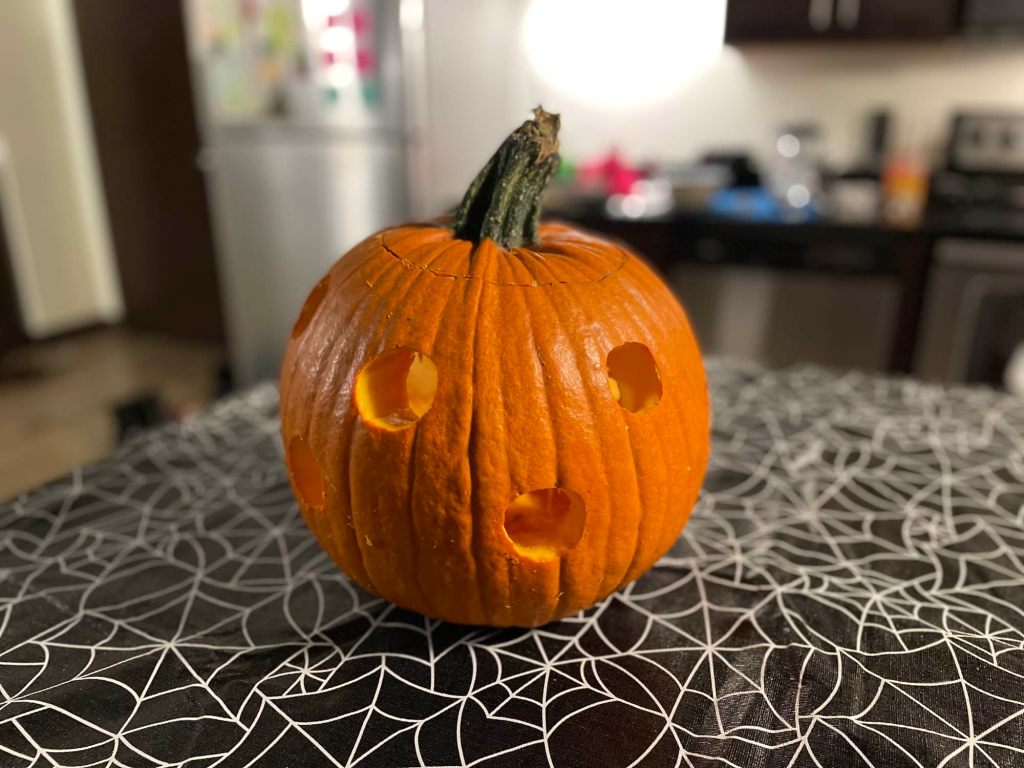
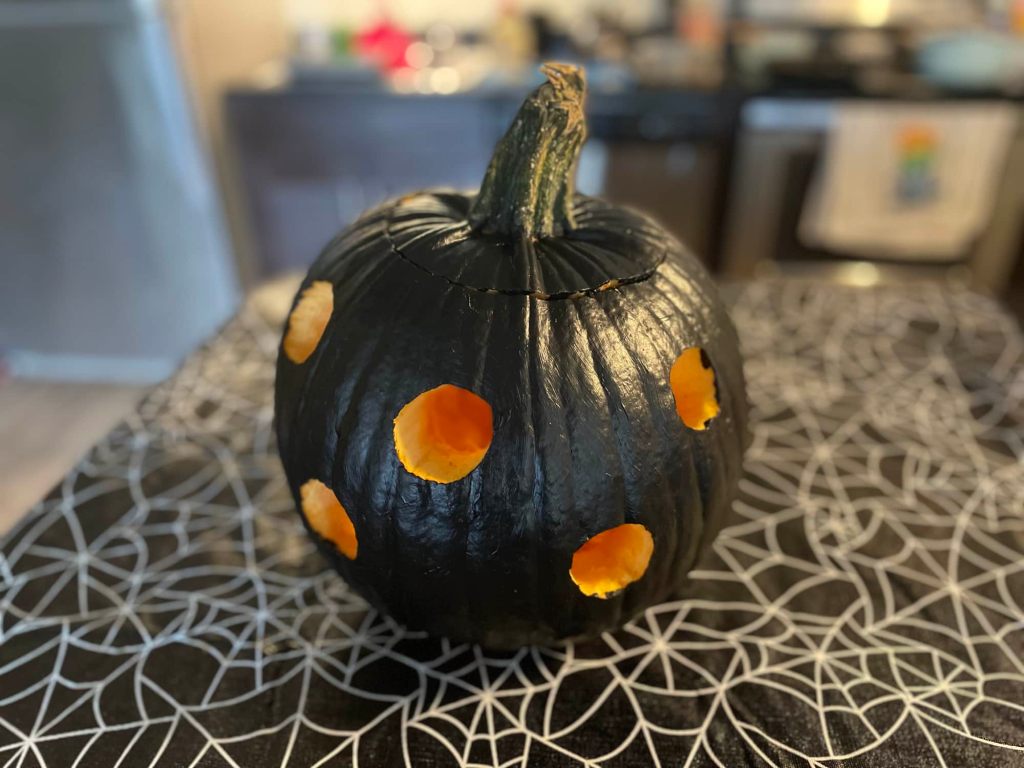
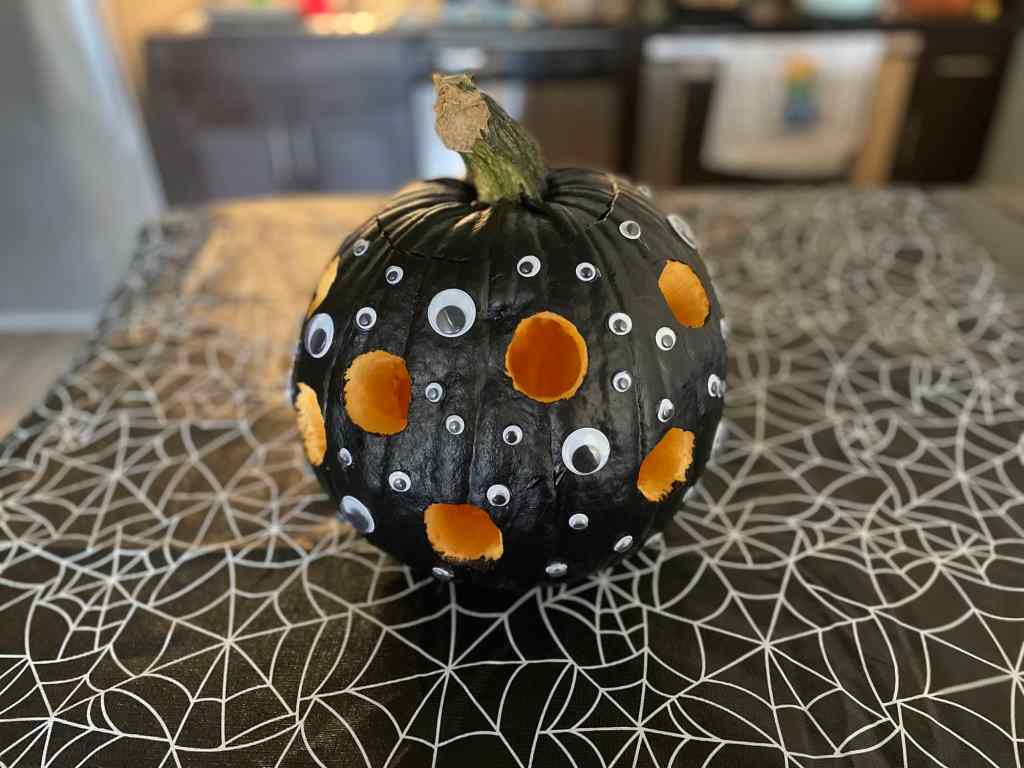
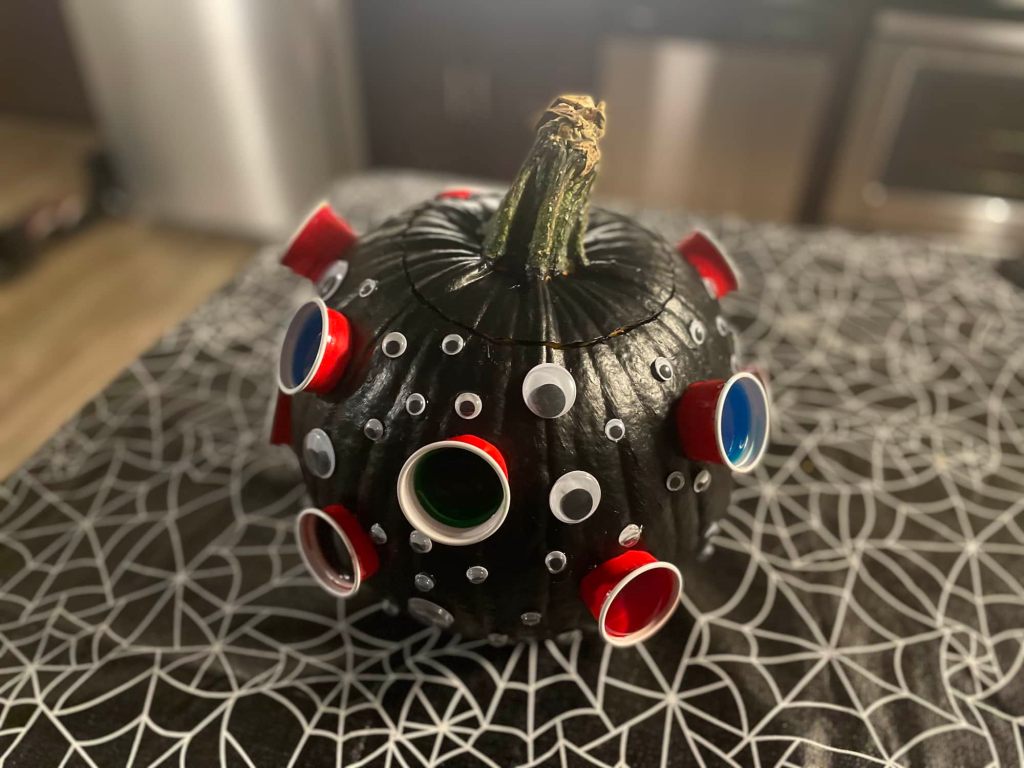
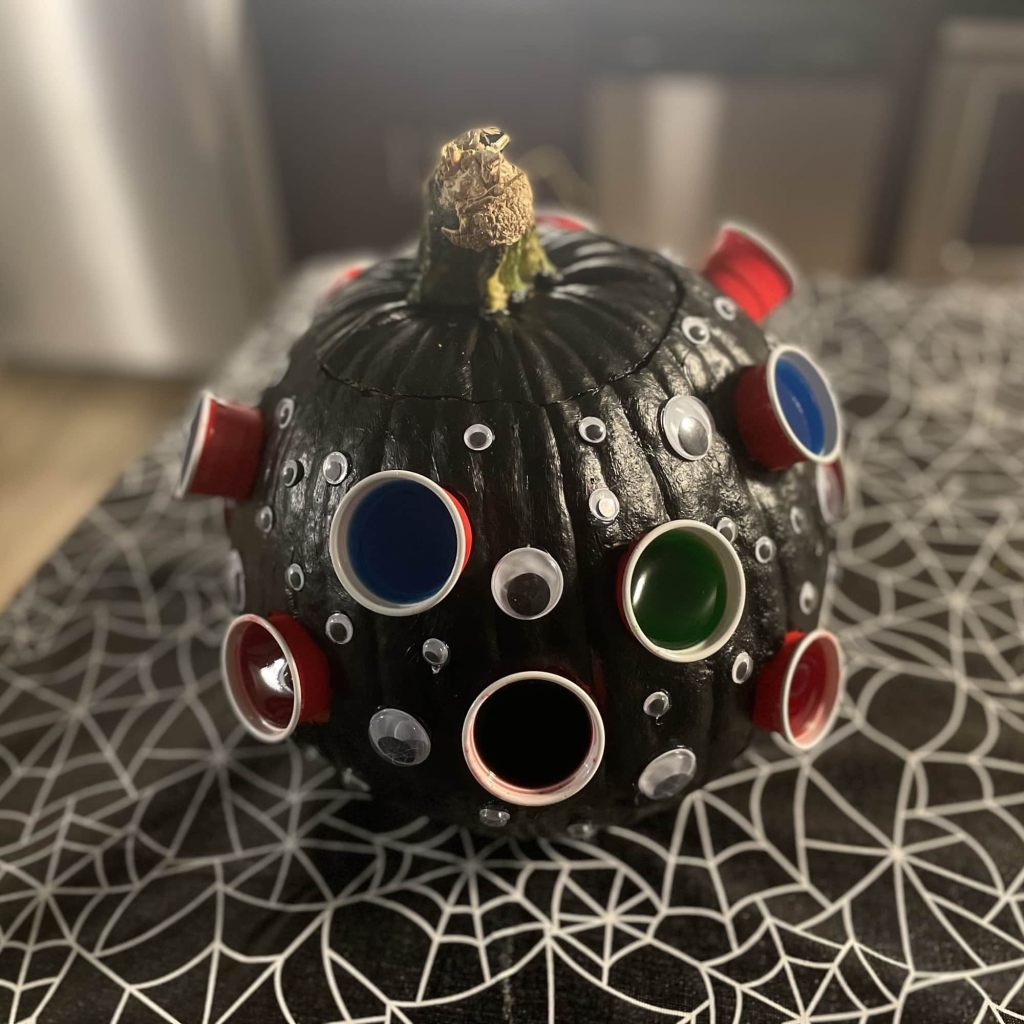
If you’re trying to step up your Halloween party game this year, look no further than this DIY pumpkin jelly shot holder. Thanks to user @belspies‘s popular TikTok that has steps for how to make this holder, you too can have this spooky piece of functional decor. From freaky and creepy to cute and sparkly, you can customise this pumpkin jelly shot holder to your preferred Halloween style! All you need is a pumpkin, paint, some art and carving tools, and, of course, a supply of jelly shots at the ready. Keep reading to find out how to make your own pumpkin jelly shot holder.

POPSUGAR / Adrianna Adame

Gather Your Supplies

For this DIY, you’ll need a medium or large pumpkin, carving utensils, paint, paint brushes, a hot glue gun, and googly eyes for the pumpkin jelly shot holder. For the jelly shots, all you’ll need are some plastic shot cups, vodka and a variety of jelly packets of your choosing.

POPSUGAR / Adrianna Adame

Carve Your Pumpkin

First, you’ll need to carve off the top of your pumpkin. Once you’ve carved off the top, it’s time to get down and dirty to remove the guts! If you don’t want the innards to go to waste, consider saving them for a pumpkin puree!

POPSUGAR / Adrianna Adame

Draw and Carve Out Holes

Now that you carved out your pumpkin, it’s time to draw the holes that your jelly shots will be going into! Use the plastic shot cups to trace your circles to make sure that your shots will fit correctly. After drawing the circles, grab your carving tools and get to work! Keep a plastic shot cup on hand to test how it fits (you can always make the hole bigger if it’s too tight for the cup!). Carve as many holes as you’d like.

POPSUGAR / Adrianna Adame

Paint Your Pumpkin

With whatever colour you have on hand, paint your pumpkin! Depending on the colour, you may have to paint a second layer to fully cover the area. I went with black since it only took one layer and gave the pumpkin some serious spooky vibes. Give your pumpkin at least 90 minutes to dry before moving onto the next step.

POPSUGAR / Adrianna Adame

Decorate Your Pumpkin

This step is optional, but it definitely adds to the fun of this DIY! Customise your pumpkin jelly shot holder by adding googly eyes, sparkles, stickers, plastic spider rings, or whatever accessories you desire. To make sure that decorations such as googly eyes stay firmly attached to your pumpkin, use a hot glue gun.

POPSUGAR / Adrianna Adame

Insert Your Jell-O Shots

Lastly, place your pre-made jelly shots into the holes of your pumpkin holder. Arrange your jelly shots in a colourful pattern along the pumpkin to give it that extra pizzazz. Don’t add a candle inside the pumpkin as it’ll melt your jelly shots into a horrific sticky mess! Once you’ve finished your pumpkin jelly shot holder, show it off as the centrepiece to your table!

Recent Posts

Exit mobile version