Tie-dye has become trendy again, and we love it. We’ve seen it everywhere from masks to loungewear. Disney fans might have even noticed a few new tie-dye pieces pop up on shopDisney.com. But if you want to make your own custom piece, Disney just came out with a video showing everyone how to make a Mickey Mouse tie-dye T-shirt. The craft is a lot of fun for kids since they can pick out what colors they want their shirt to be, and even help with getting the shirt ready to be dyed. We tried this fun activity out for ourselves and while it’s harder than it looks, it still makes for colorful results! Swipe through to see all the steps and how our Mickey tie-dye shirt came out.
Related: Yes, You Can Tie-Dye With Your Kids Without Trashing the House – Here's How
Megan duBois
Gather Your Supplies
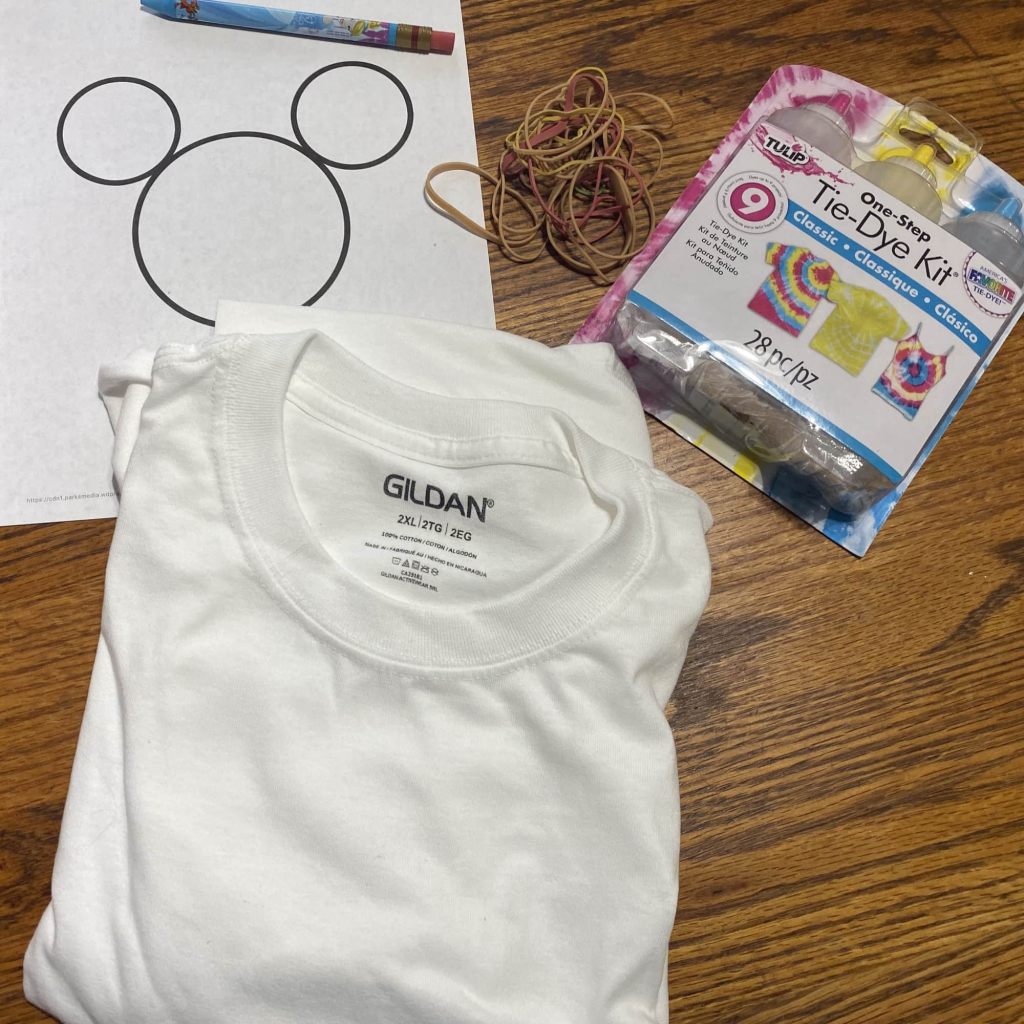
The first thing you’ll need to do is gather everything you’re going to need for the project. That includes a printed Mickey Mouse silhouette, a pencil, a white T-shirt, rubber bands, and a tie-dye kit.
Megan duBois
Trace Mickey Mouse Onto Your T-Shirt
Place the Mickey Mouse silhouette between the two layers of your shirt where you want his head to be. Trace the outline using a pencil or chalk. Be sure to trace dark enough so you can see the markings clearly for the next step!
Megan duBois
Tie Mickey's Ears
Gather the top layer of the shirt where one ear is traced. Place a rubber band on the pencil markings. Do the same for the second ear, and then tie off Mickey’s head. You’ll have three little nubs.
Megan duBois
Tie the Rest of Your Shirt
Bring the entire shirt together until it looks like a snake. Put rubber bands down the length of the shirt every few inches, being sure not to place a rubber band over the Mickey Mouse sections.
Megan duBois
Get Ready to Dye
Following the instructions from the tie-dye kit, get the dye ready and set up a spot outside to color your shirt. If you don’t want to dye your sidewalk, put down a few layers of paper towel or old newspapers.
Megan duBois
Dye Mickey First
Place the section that has Mickey’s ears and head facing up. Drench all three sections of Mickey with dye in your chosen color first. It’s best to use a darker color so it shows up later.
Megan duBois
Dye the Rest of Your Shirt
Using the remaining dye, color the rest of your shirt. You’ll need to use more dye than you think you’ll need to get to the center sections of the shirt and get the color saturation you want. After tie-dying one side, flip your shirt over and repeat on the other side.
Megan duBois
Wrap in Plastic Wrap
Carefully wrap your shirt in plastic wrap and place it into a plastic bag. Let the shirt rest overnight to absorb as much of the dye as possible. The next morning, unwrap the shirt and cut off the rubber bands. Rinse the shirt under cold water then place it into the washing machine by itself on a short cycle, then hang the shirt to dry it.
Megan duBois
The Final Results
After drying, you’ll hopefully have something that resembles Mickey (though if you’re unlucky, you might get one that looks like mine). For better results than this, I’d recommend drawing a larger Mickey silhouette on your shirt so that your pattern will stand out more, and placing the rubber bands a little past the pencil markings so you get a nicely shaped head. Also remember to use way more dye than you think you’ll need and really get in between the layers of the wrapped T-shirt so you get a full spread of color. That’s what I’ll be doing next time!
Megan duBois
Wear Your New Tie-Dye Everywhere
Because my shirt didn’t come out exactly like Disney’s did, I got out a trusty black permanent marker and traced over the Mickey silhouette in the same spot the pencil tracing was. This definitely helped make the Mickey head pop off the shirt. I plan on wearing my newly created Mickey Mouse tie-dye as a swimsuit cover-up, but you can style yours in a million different ways!

