- POPSUGAR Australia
- Beauty
- I Tried the Bratz Approved 27-Product “Funky Fashion Makeover” — Was It All Worth It?
I Tried the Bratz Approved 27-Product “Funky Fashion Makeover” — Was It All Worth It?

As POPSUGAR editors, we independently select and write about stuff we love and think you’ll like too. POPSUGAR has affiliate and advertising partnerships so we get revenue from sharing this content and from your purchase.
As of 2021, Bratz dolls had accrued 1.7 trillion views on user-generated content over three years, according to W Magazine. This content ranged from YouTube beauty challenges, viral TikTok tags and Instagram fan accounts — as well as Depop and Etsy stores dedicated to replicating the archetypal Y2K girlie looks we saw on Cloe, Yasmin, Sasha, Jade and their newer, but no less iconic pals Meygan and Nevra.
They’ve been the It Girls of the Y2K fashion and beauty resurgence.
Why do we still have a “passion for fashion” so many years after the Bratz golden era? Bratz dolls were always a little (or a lot, depending how chill your parents were) deviant. So much so that they were dragged by a US Taskforce for exposing young girls to “miniskirts, feather boas and thigh-high boots.” A generation of children disagreed and felt empowered by Bratz, who used makeup and fashion to express themselves while Barbie was negotiating her domestic partnership with Ken and an on-again-off-again affair with your brother’s Action Man.
For millennials and zoomers, the Bratz girls left a trapezoid-shaped hole in our hearts, and now we’re doing everything we can to get the magic back.
Reunited With the Makeup Magic of Bratz

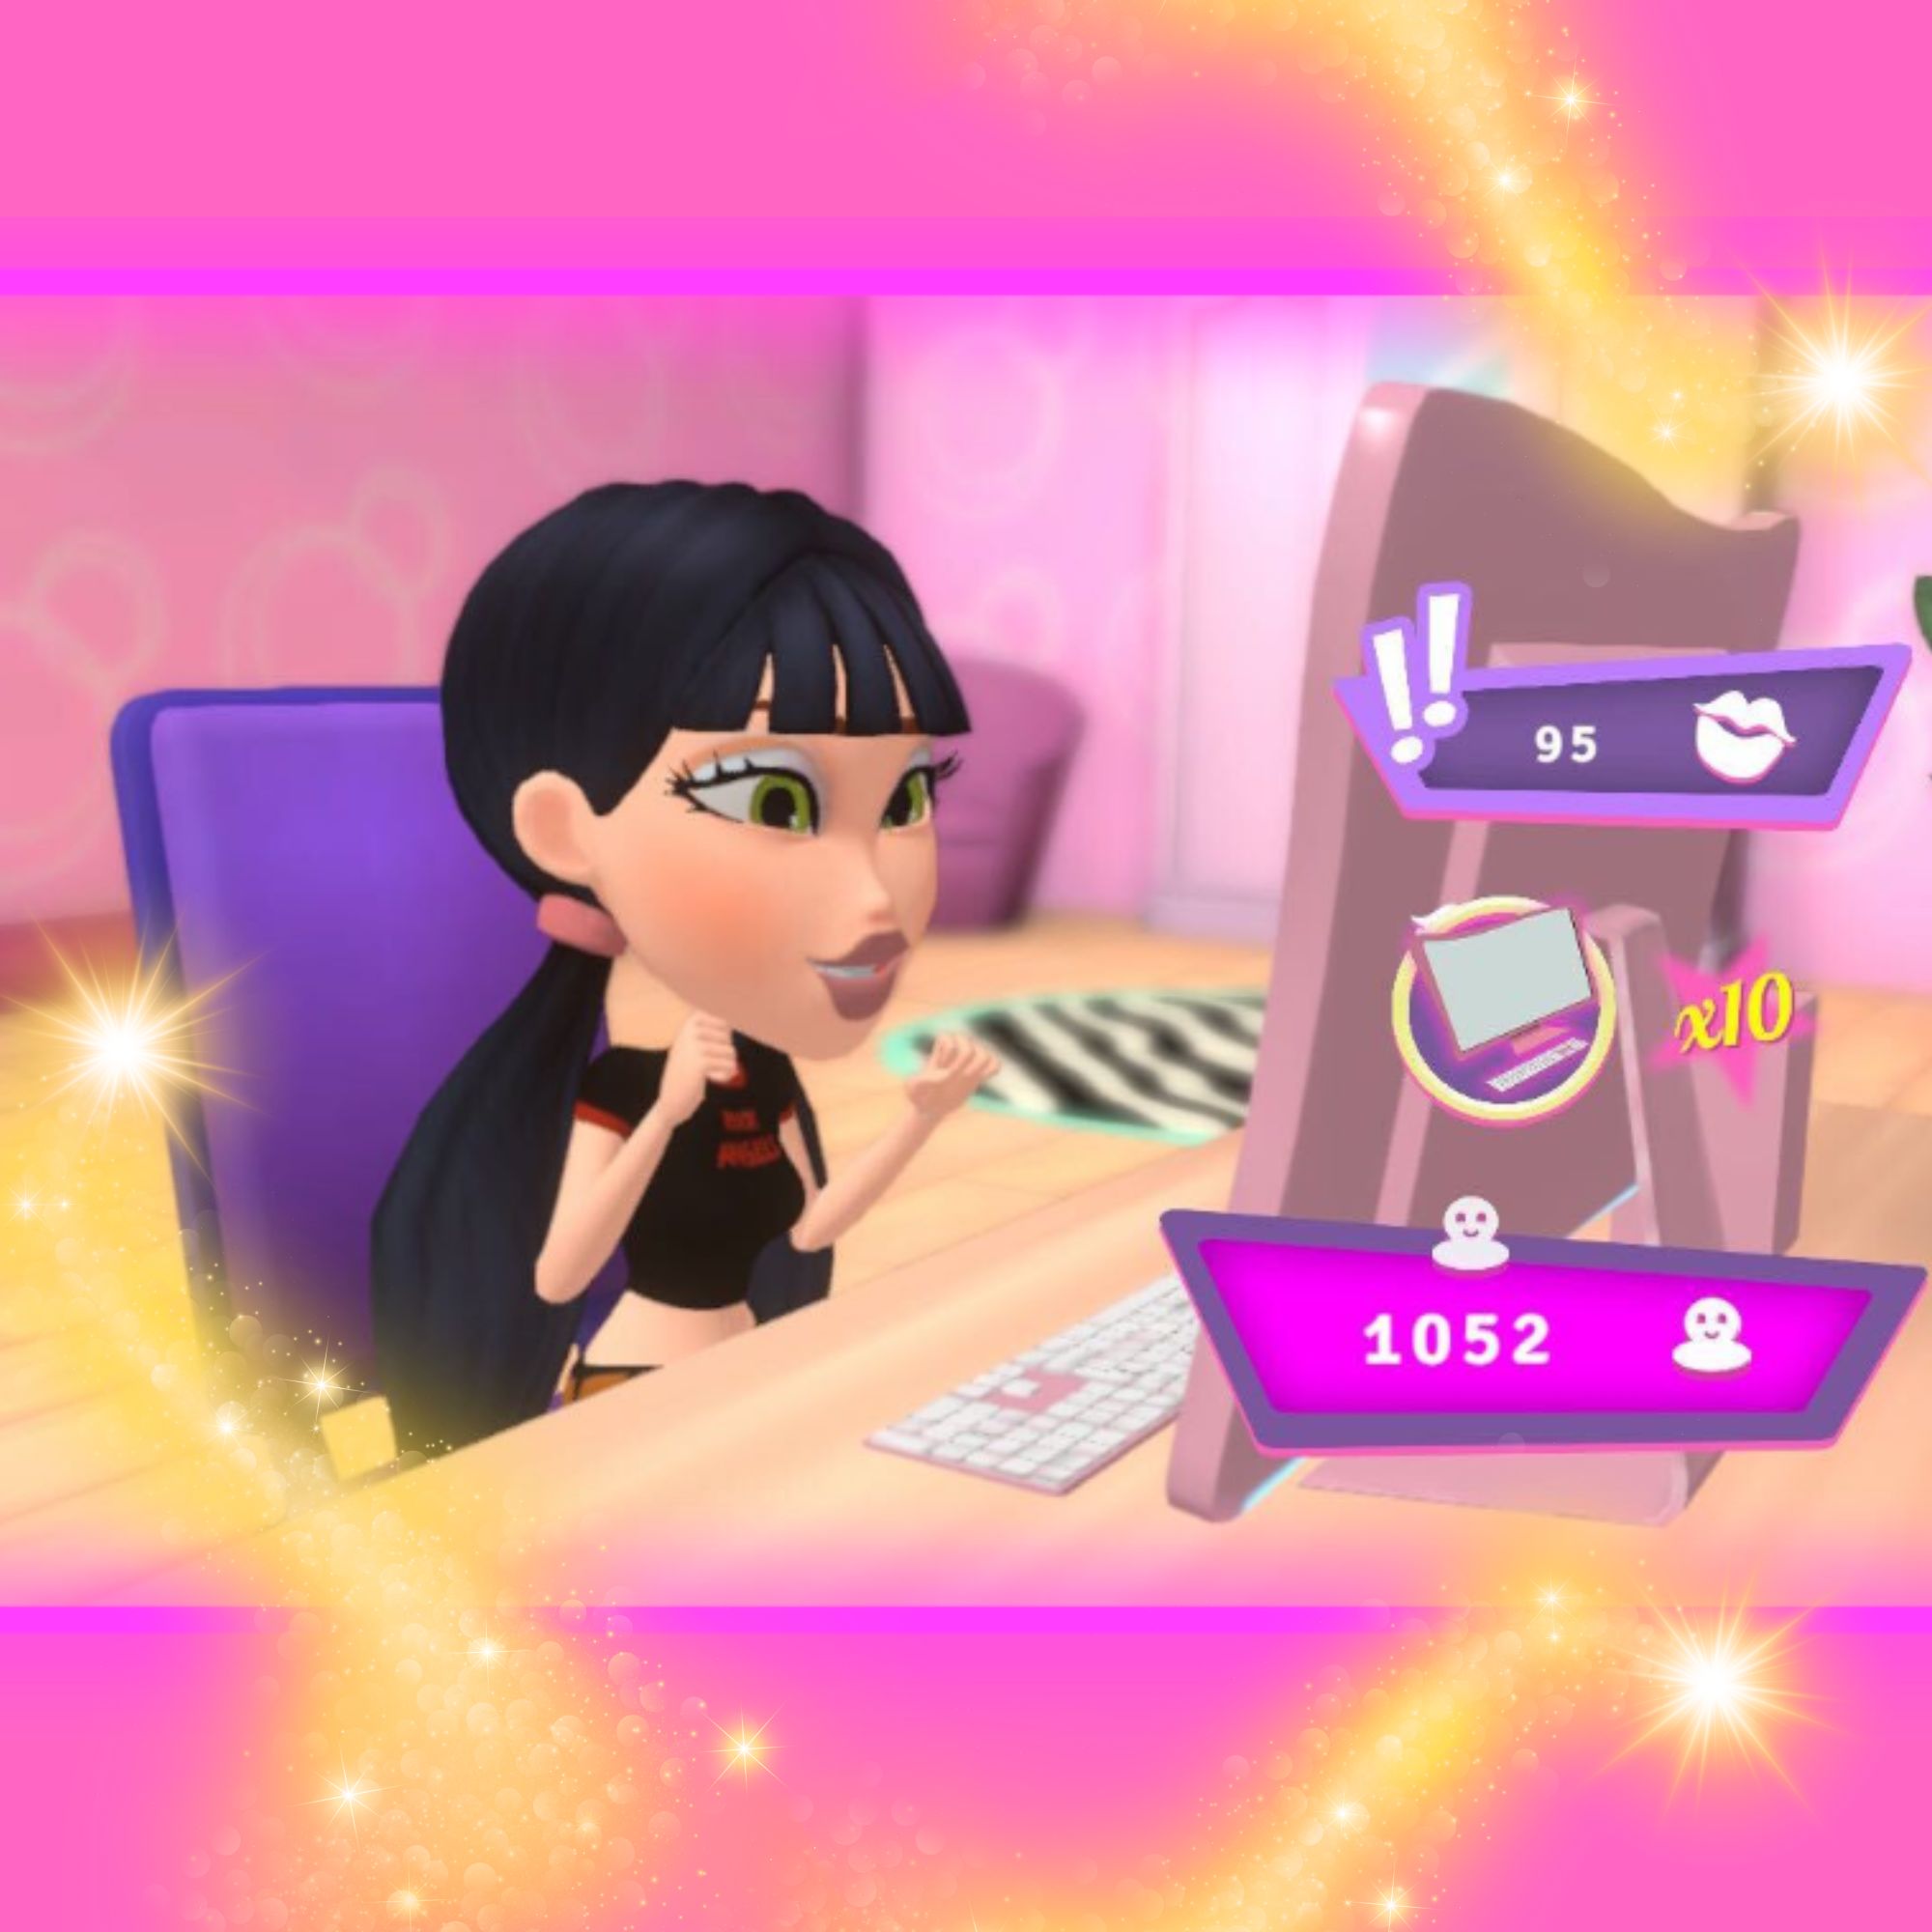
I recently had the pleasure of checking in at Bratz HQ, where Jade, Cloe, Yasmin and Sasha are chronically late for their jobs as fashion journalists.
As I explored life as a mall-rat fashion reporter, I noticed the Bratz beauty looks were as slay as their style aesthetic. However, their beauty looks get a lot less attention than their ‘fits (Bratz-girlie lingo) which is wild when the below footage is live on the internet.
Surely we haven’t forgotten the iconic Bratz Styling Heads so easily?
While we may have suppressed the memory, Bratz-esque trends like “passport photo makeup” and “siren eyes” have been hitting us hard and fast in 2022 as Covid lockdowns and Euphoria chipped away at the allure of “no-makeup-makeup.”
Sure, a decapitated doll’s head you can put makeup on is a little Mindhunter, but compared to toys that encourage children to take a baby in and out of an anatomically incorrect plastic woman, they were groundbreaking.
Related: I Haven’t Played Nintendo Since 2001 — Bratz: Flaunt Your Fashion Lured Me Back
I was yearning for the cruisy and aesthetic Bratz life after spending just one day on the ground with them, but my housemate needed her Nintendo Switch back. So, caving to the urge to reconnect with my inner Brat(z) I filtered my face, dusted off my contour skills, watched a few 2014 cut-crease TikToks and got to work.
I was going to recreate the Bratz Funky Fashion Makeover on my very real, human face in 2022, and I chronicled the experience for better or worse.
Let it serve as a cautionary tale in slaying too close to the sun.
Becoming A Beauty Brat(z) In 27 Steps:
The Ultimate Bratz Eye Makeup
Whether you’re doing a brown or black smokey eye or a sharp wing, starting your eye makeup before your base is essential. This way you have free reign to tidy up any chaos — which in this tutorial, there will be a lot of.
Bratz girls favour the “cut crease” eye look, a distinctly 2014 makeup that, like many trends of that era, has its origins in drag performance art. The cut crease technique involves using two colours, one light and one dark, to create a sharp, geometric contrast. The result is a kind of optical illusion that opens the eye while adding depth and dimension. By placing the “cut” above the brow bone, you can create an optical illusion, manipulating the eye shape. It’s typically used by drag artists to create an exaggeratedly feminine look, or by people like me trying to emulate the appearance of a plastic doll.
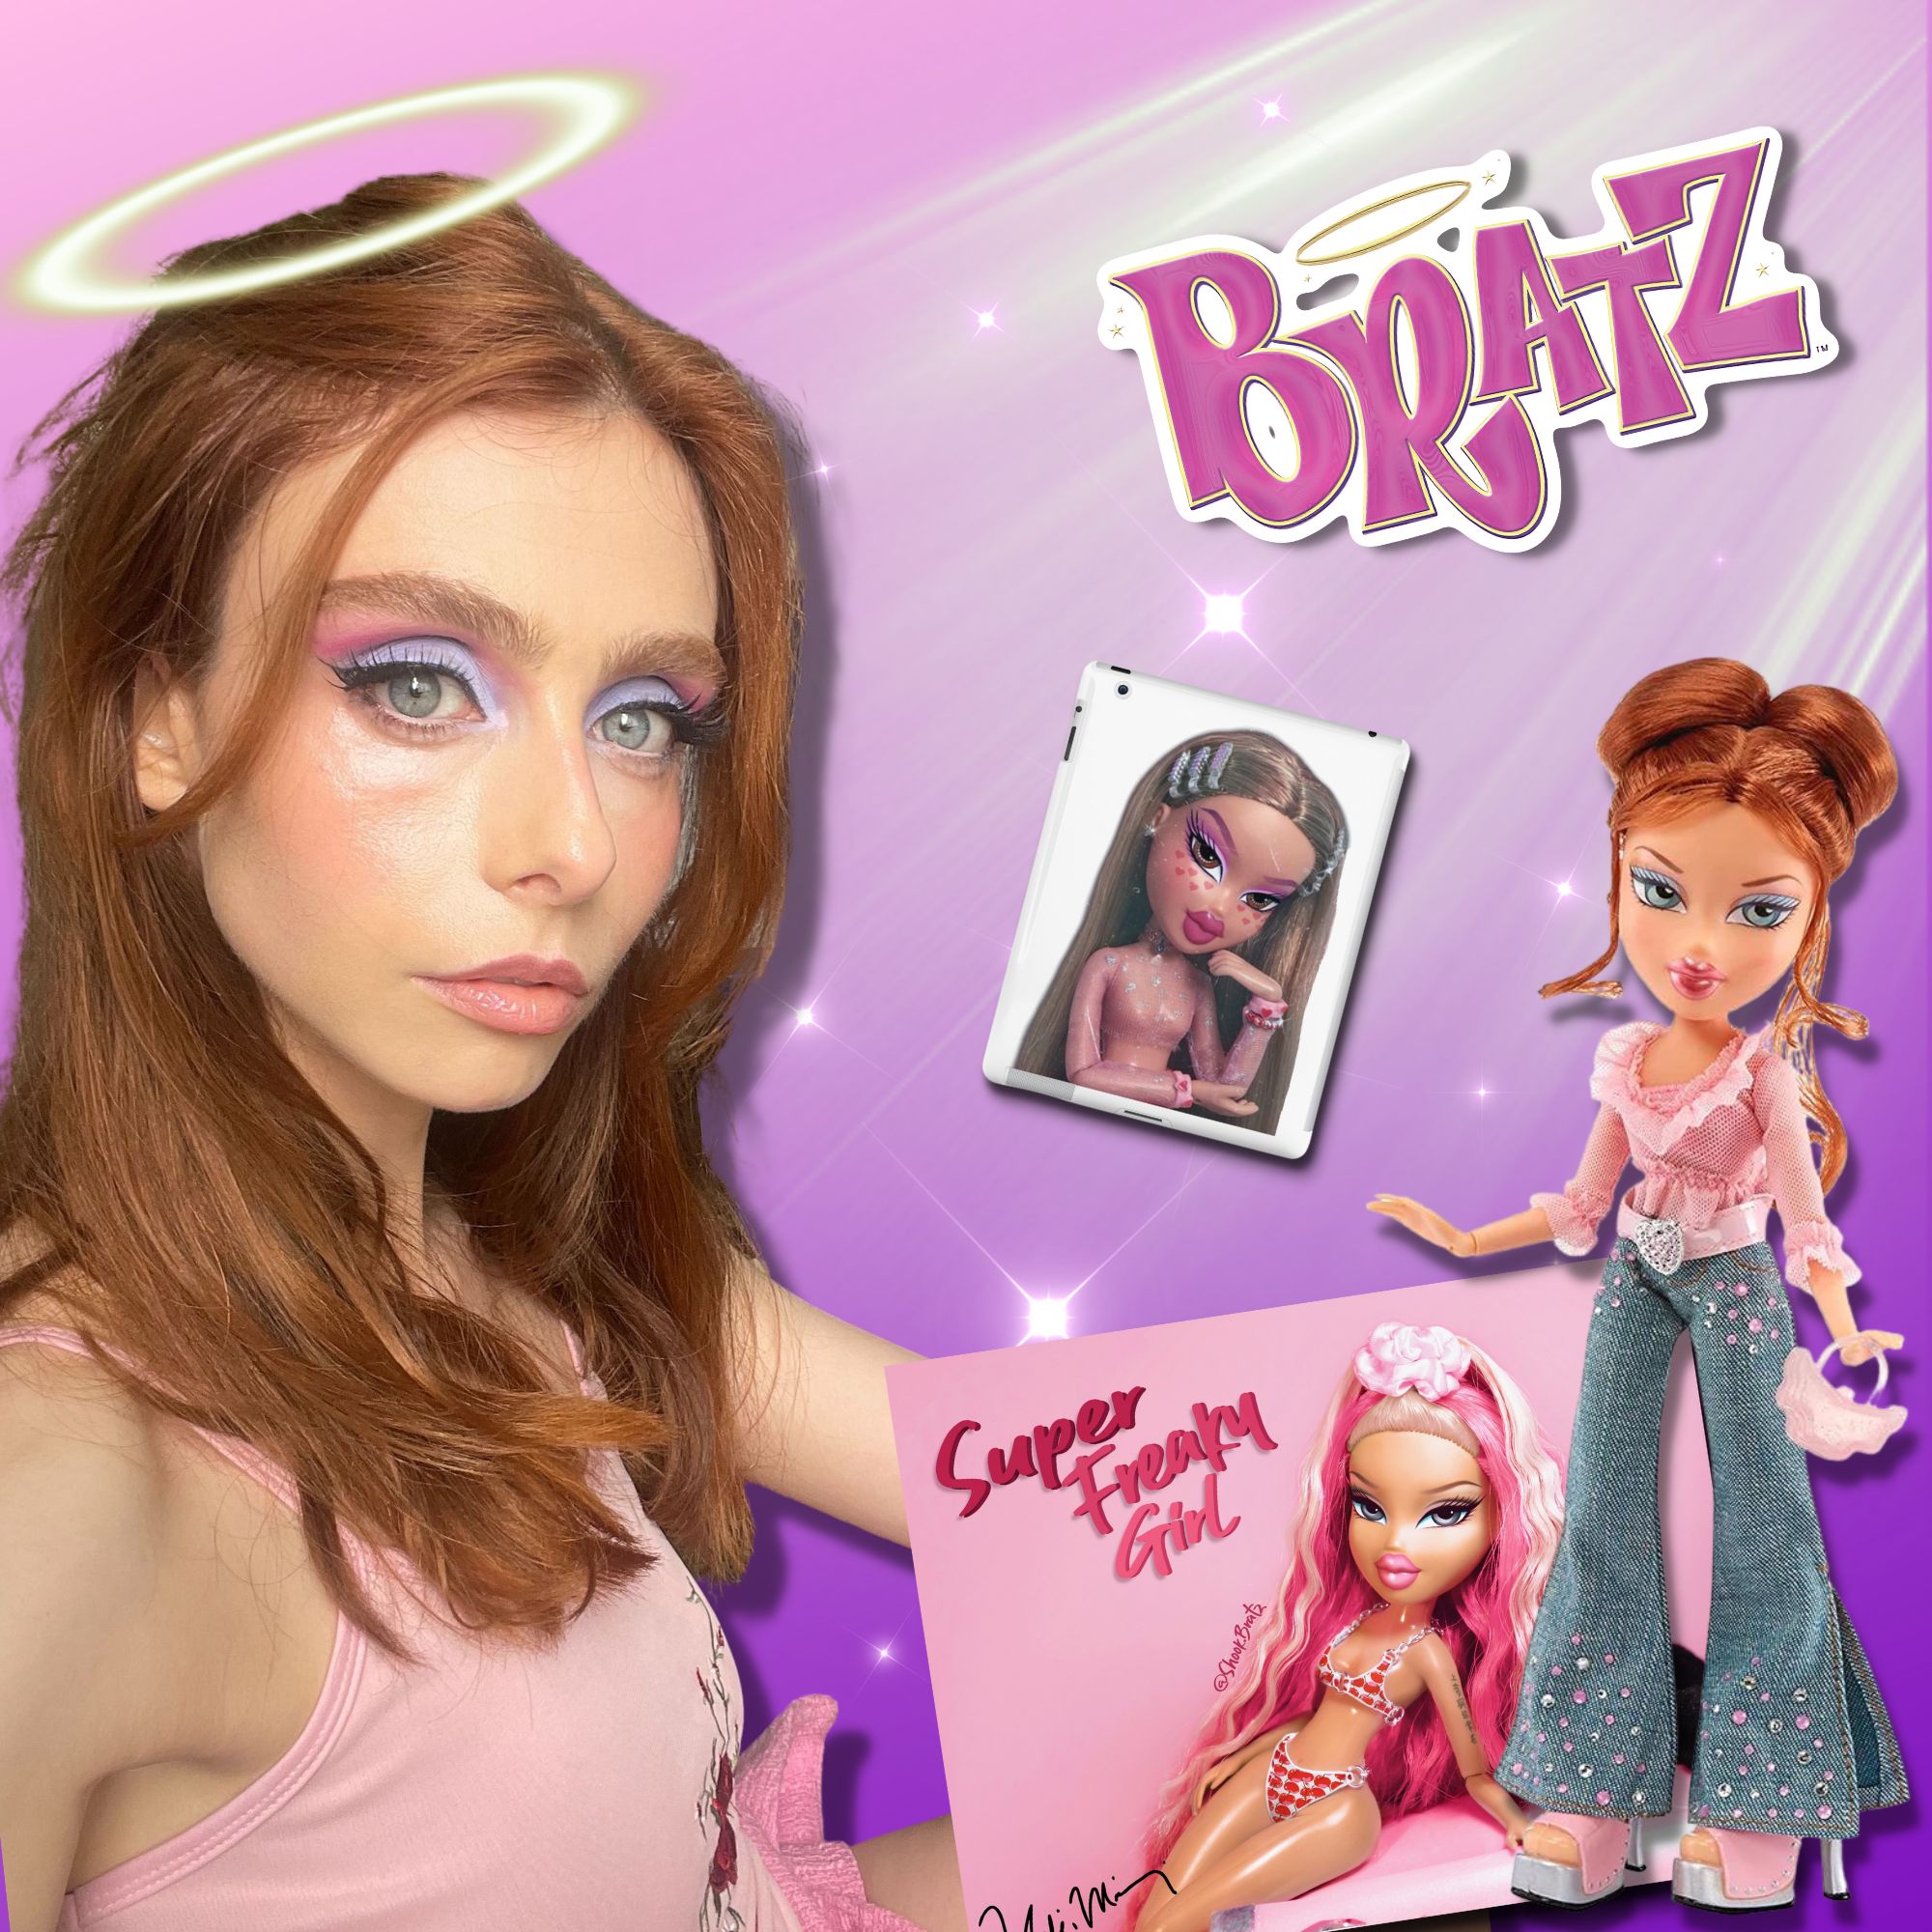
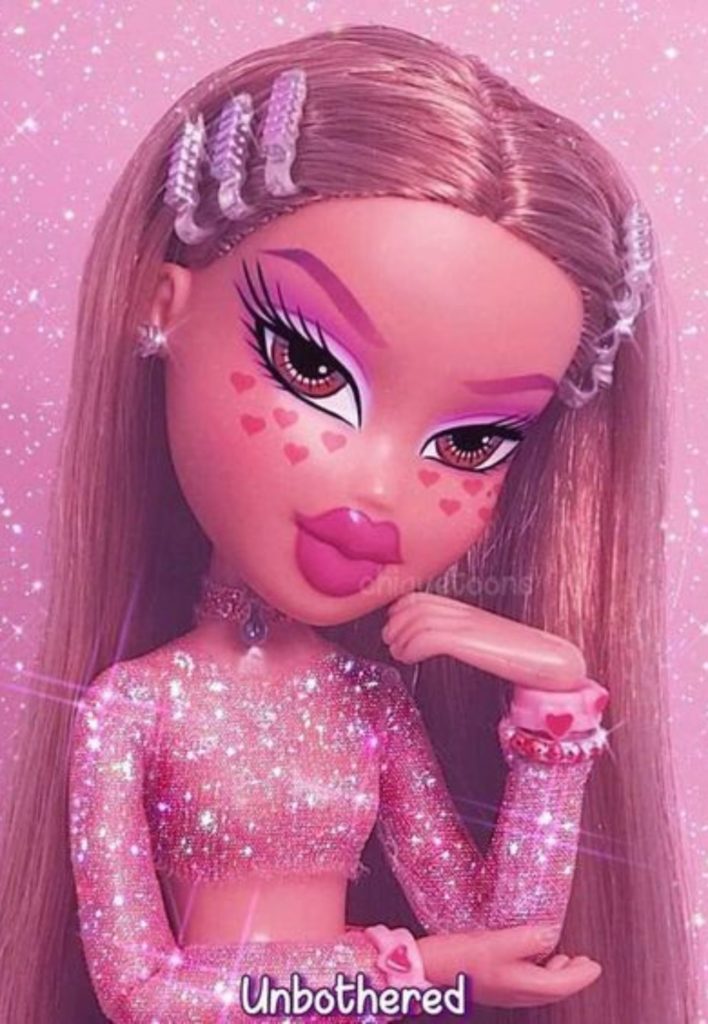
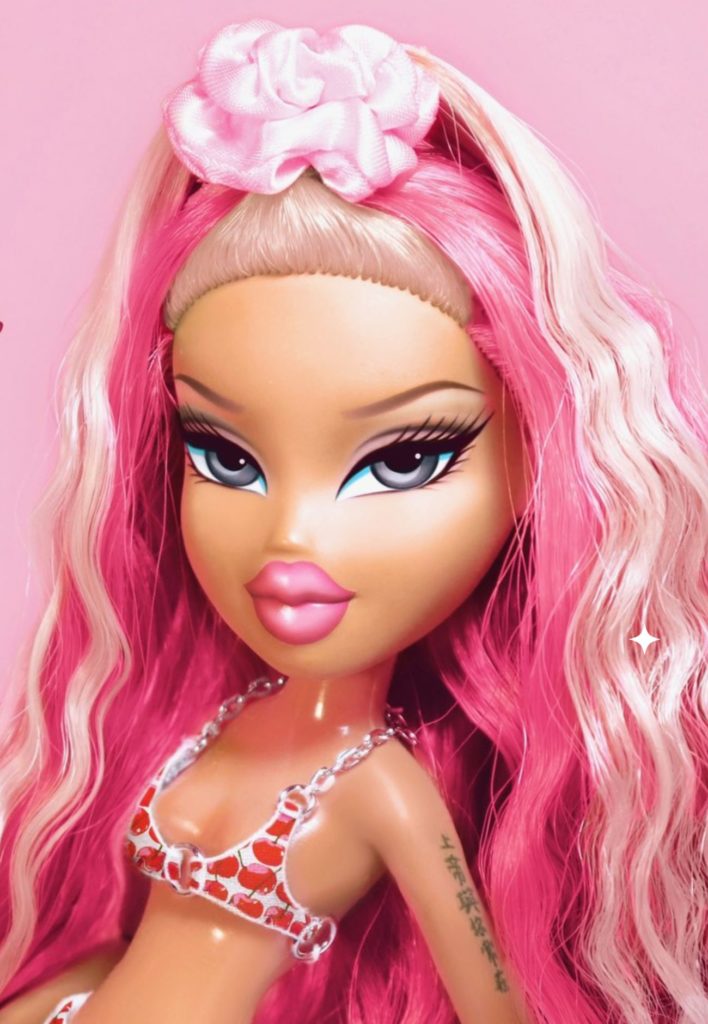
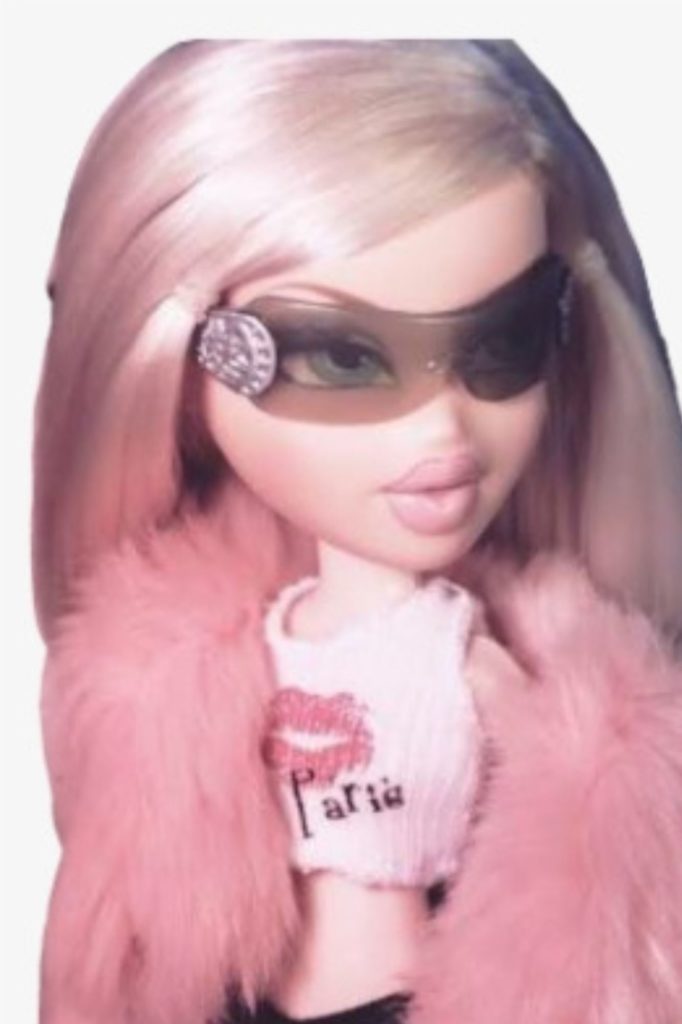
I wanted to recreate the above bubblegum look, inspired by Meygan, the redhead new starter in the Bratz universe who looks the most like me. (Not a lot.)
What You’ll Need:
- Pencil liner
- 2-3 shadows for the base and crease
- Translucent powder
- Full coverage concealer
What I Did:
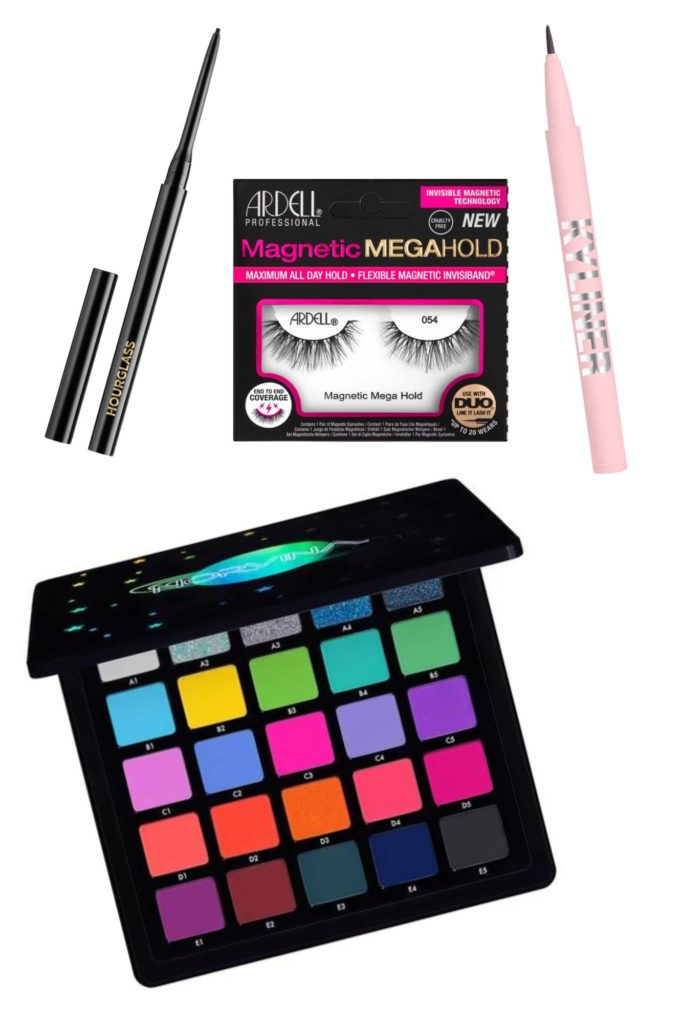
I grabbed the Anastasia Beverly Hills, Norvina Pro Pigment Palette Vol. 6 for Face and Body ($114), the palette in my collection with the highest concentration of neon pinks and candy pastels.
Sadly, I don’t own any pink eyeliners, but a lipliner will work just fine for this. I used Rimmel, Exaggerate Lipliner in “East End Snob” ($7).
Creating a cut crease is fiddly, but at this point it was 7:40 am, well before it was time for me to start my workday. I was feeling confident. Cocky, even!
Cut creases are kind of like a smokey eye in reverse. You start at the top and work your way down.
First, prep your brow bone: apply a little concealer and set it with translucent powder to create a smooth surface for your blend.
I traced my “cut” line with the Rimmel pencil, then set it with the electric hot pink shadow “C3”. I proceeded to blend C3 all the way up to my brows. Application and placement will differ for each eye shape, but I have deep-set eyes and my “cut” is placed higher than my actual crease.
That’s because if it were in my actual crease, it would be invisible. The same rule goes for hooded eyes.
Then there’s your base colour. The easiest product to use for this is concealer. You’ll bring it all the way up to the “cut” to create the start transition, so you want something full coverage but flexible, which most primers are not.
I picked up my favourite long-wear, full-coverage concealer, Rimmel, Multi Tasker Concealer ($10) and swept it over the lid, taking it right up to the “cut” and creating a clean, sharp contrast with the colourful pigments. Then I set the concealer with my lid shade. I opted for the matte lilac “C4”, mixing a little of the white “A1” in for the inner corner.
The Ultimate Bratz Liner
By this point, I’d been doing my makeup for about 45 minutes. Another tip for the woefully disorganised is to plan the products you’re going to use before you start your makeup, and have them laid out. I did not do this.
Onto liner.
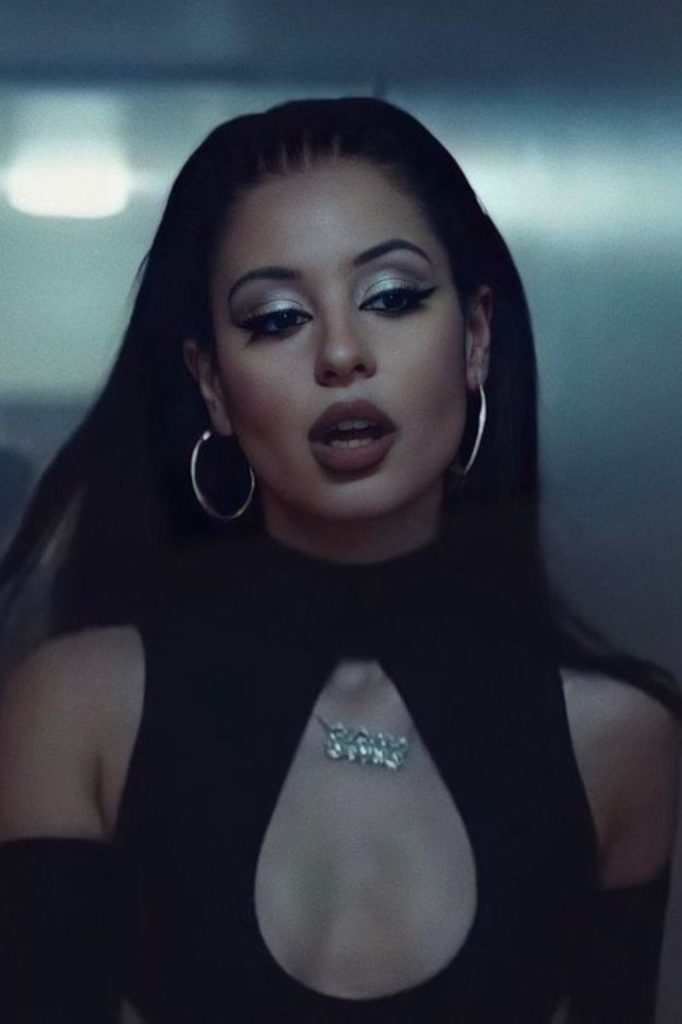
The Bratz eye makeup aesthetic is “siren” rather than “doe” — think Euphoria‘s Maddy Perez and aim for an elongated, dramatic shape.
What You’ll Need:
- Liquid liner
- Small pencil liner/gel liner
- Nude inner corner pencil
- Black powder shadow
- Brow brush/paper for measuring
What I Did:
Line your upper waterline from the inner to outer corner. This creates the “siren” shape and will help your false lashes blend in. (Because there will be false lashes.)
Lining the inner corner of your eye can be tricky, so I whipped out a micro-liner. I used the Hourglass, 1.5mm Mechanical Gel Liner in “Obsidian” ($30).
Next, it was time for my wing. Back in the Nikkie Tutorials era, we used fashion tape to create super sharp wings. It was expensive, environmentally negligent and resulted in unfortunate viral trends. Lucky for you, this step is unnecessary.
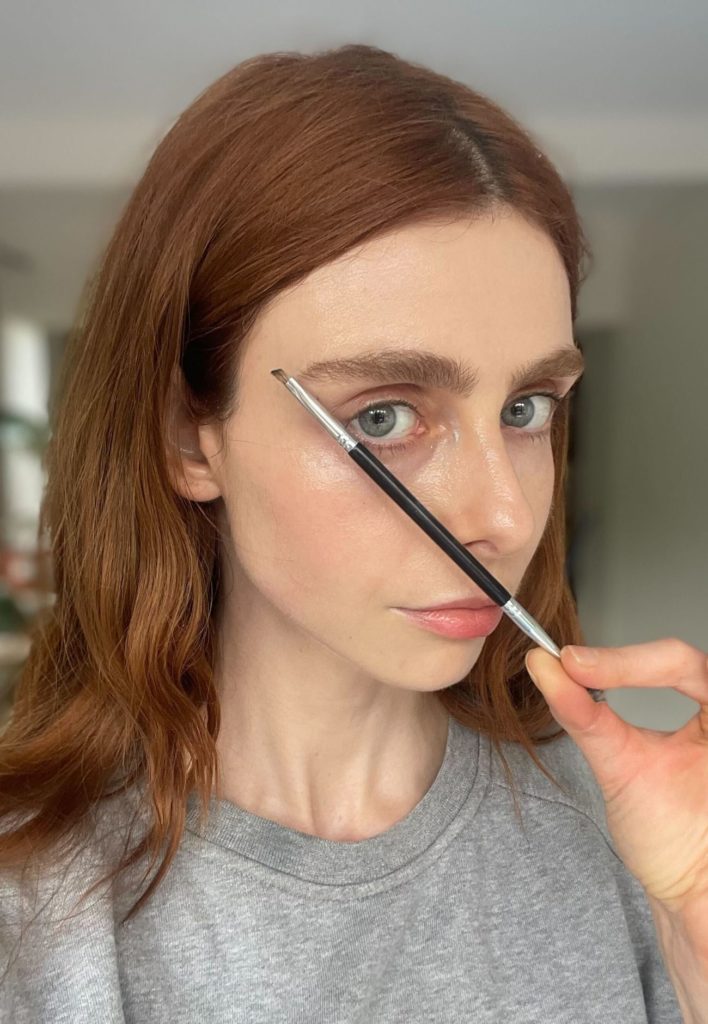
Instead, take the handle of a thin brush or a piece of paper and find your most flattering angle by measuring from the base of your nose to the tip of your brow. Then, mark that angle with some black shadow. As long as your liner doesn’t dip below that line, you’ll be “snatched.”
I used the Kylie Cosmetics, Kyliner Liquid Pen ($30). It has a calligraphy tip, which makes it uber-flexible and precise — perfect for the thin, whiplash line I was aiming for.
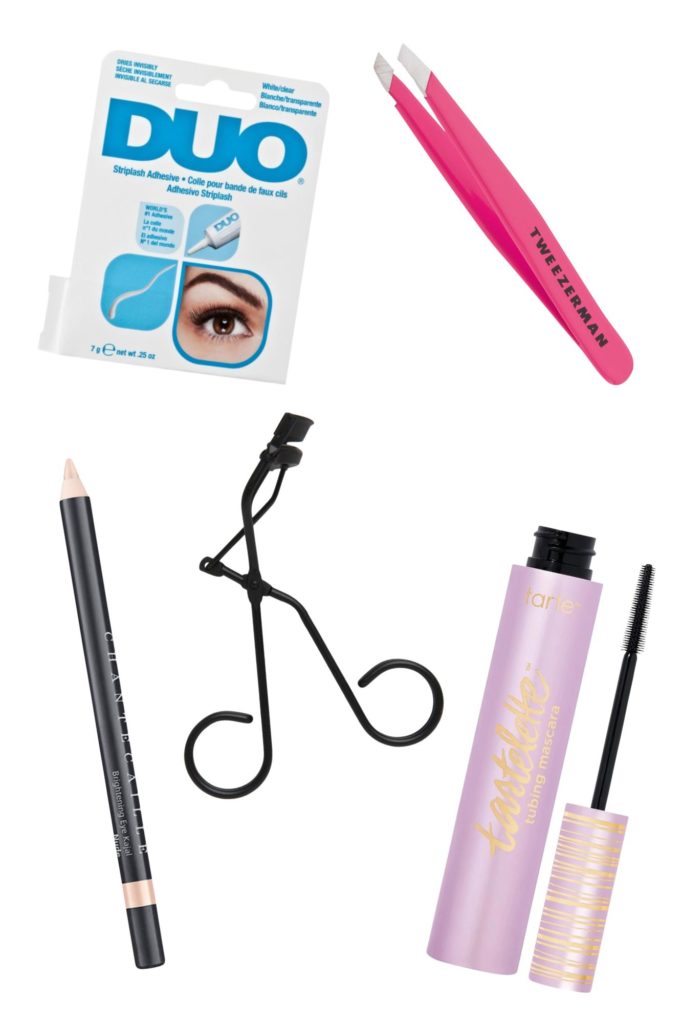
The Bratz line their entire eye, but this is simply not my vibe and I hope the girls will understand. Instead, I lined my lower waterline with Chantecaille, Brightening Eye Kajal ($45).
The Ultimate Bratz Lashes
Lashes are big for the Bratz girls, and you’re unlikely to create the patented Bratz drama with mascara or simple individuals. This is where I ran into difficulty.
What You’ll Need:
- Eyelash curler
- Mascara
- Strip lashes
- Lash glue
- Small scissors (emphasis on the small)
- Tweezers
- Eyeshadow primer
- Pointed or micro Q-tips
What I Did:
First, I curled my lashes with the Surratt Beauty, Relevée Lash Curler ($45) and added some Tarte, Tartelette Tubing Mascara ($40), dragging the spikey brush outward to further elongate my (embarrassingly round) eye shape.
False lashes were next on the agenda. This is where my plan to get to work on time fell apart.
There was a time when I wouldn’t be caught dead without two or three pairs of stacked strip lashes, but that was 10 years ago, and I’m rusty.
I had planned on using Ardell, Magnetic MegaHold Lashes ($15), as they were the ones I had on hand. I soon realised I’d lost the magnetic liner. Unsurprisingly, magnetic lashes are supposed to be applied with magnetic liners and have an unusually thick band.
Related: TikTok’s “Passport Makeup” Beauty Trend Shows the 2010 Aesthetic Is Here to Stay
To keep the large magnetic lashes on my eyes, I had to use about four times the amount of Duo Lash Glue advisable, which wreaked havoc with my perfect cut crease and, as it turned out, saturated my actual eyelashes with glue that would take three days and five to six rounds of double cleansing to totally get rid of.
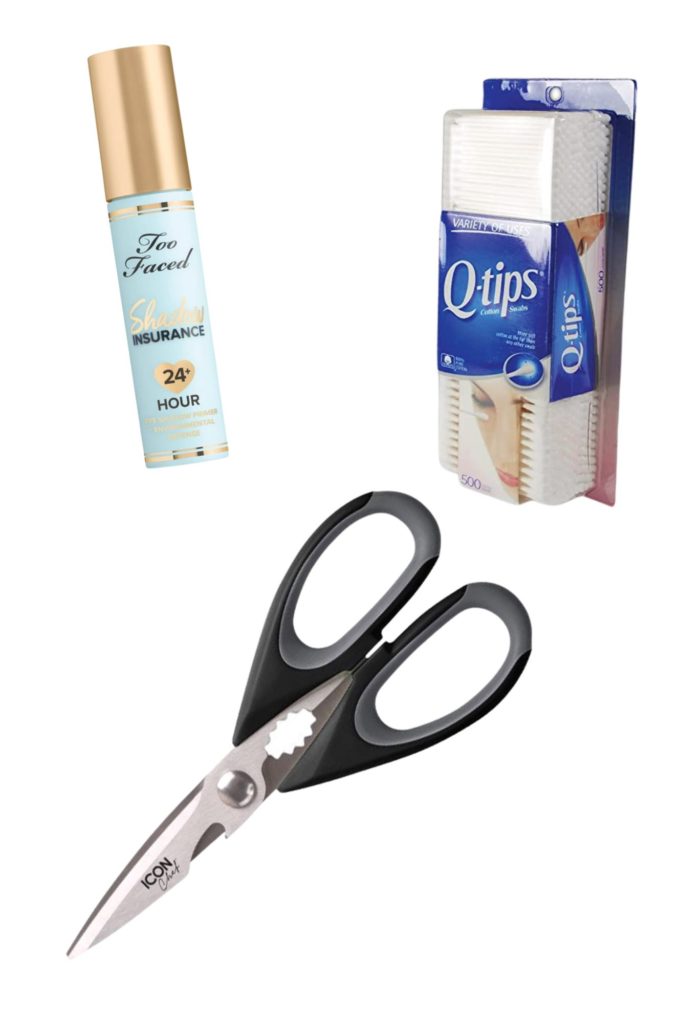
I also did not have appropriate scissors handy. I forgot to trim the lashes to size (essential as lashes are designed to be trimmed to any eye shape) and ended up having to trim them with kitchen scissors once they were already glued to my eyes.
Again, be organised.
By the time the lashes were on, my knees were weak, my palms were sweaty and I was 15 minutes late to work. I’d given my manager the heads up that this tutorial could take time, but even so, while I had technically completed the eye look, it needed restoration.
How to Salvage Your Eyeshadow Hot Tip: Massive false lash incidents are not the only disaster that can strike an eye look. Wet mascara transfer and rogue eyeliner are the most common. If this happens to you, dip a micro or slanted q-tip in eye primer (rather than water or makeup remover) to tidy up. The eye primer creates the perfect base to “patch up” your shadow seamlessly. I used Too Faced, Shadow Insurance Environmental Defense ($39) and courage.
Number of minutes late: 15
Number of products used: 10
The (Suboptimal) Bratz Brow
Bratz are true Y2K girlies with skinny, elongated brows. You can go as crazy as you like here, but I did not have time to block out my distinctly untrendy full brows. Check out this tutorial if you’re interested in doing this for yourself.
What You’ll Need:
- Brow powder or pencil
- Brow gel (I prefer a laminated look as it keeps the arch high and dramatic)
What I Did:
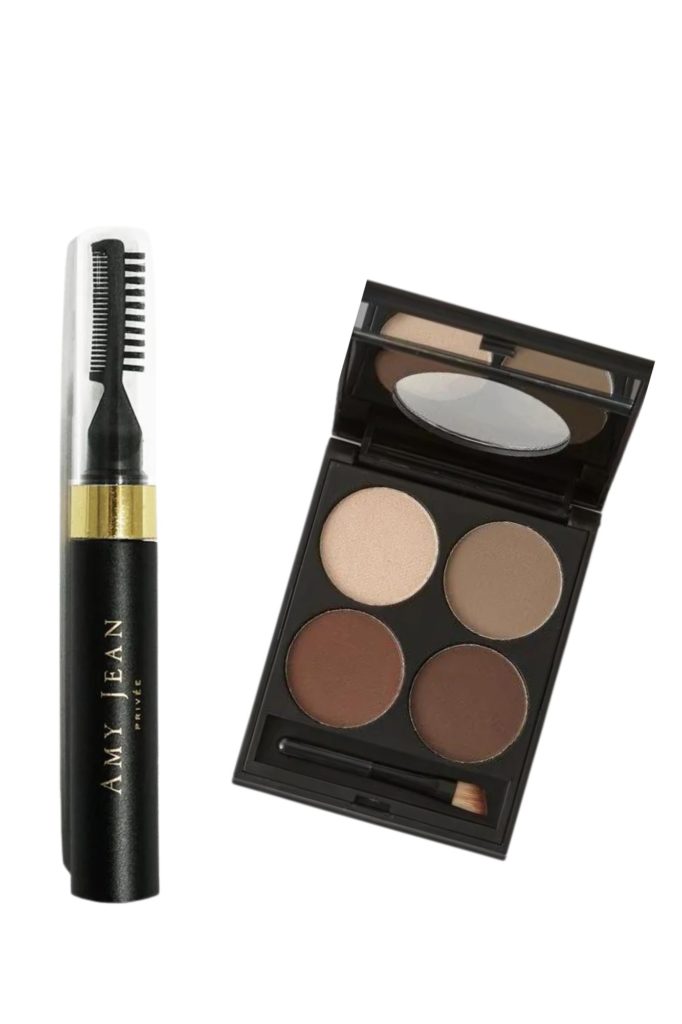
I ditched the plan to make my brows pink and whipped through them with a reddish powder from the Ardell, Brow Defining Kit ($29) and the new Amy Jean, Lamination Brow Gel ($44) with which I am obsessed.
Number of minutes late: 20
Number of products used: 12
The Ultimate Bratz Complexion
With eyes, brows and lashes done, I moved onto the rest of my face, starting with skincare prep because, unlike a Bratz doll, I have human skin that gets dry, oily and has texture and pores. Bratz also wear significantly more makeup than I do on a normal day, so proper skin prep was essential.
What You’ll Need:
- Whatever makes you feel your glowy best, while also creating a smooth base for the ample amount of makeup you’ll be wearing. If you want some tips on prepping different skin types for a full-coverage, long-wear beauty look, check out our interview with MUA Alex Perrin.
What I Did:
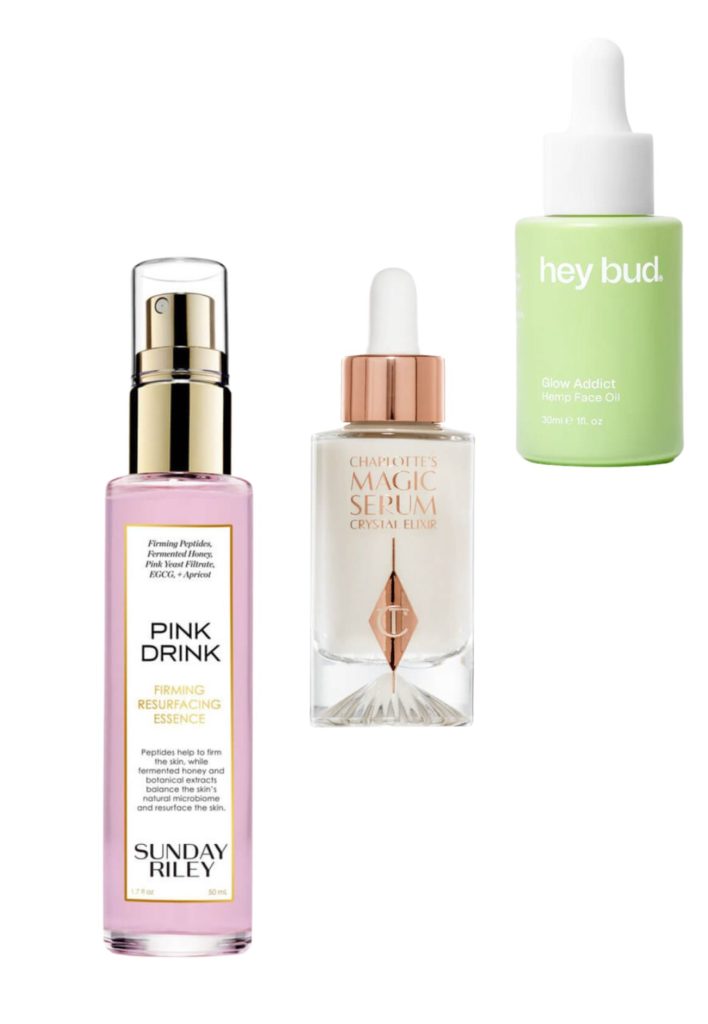
I applied Charlotte Tilbury, Charlotte’s Magic Serum Crystal Elixir ($110), followed by a spritz of Sunday Riley, Pink Drink Firming Resurfacing Essence ($72) that was sandwiched in with Hey Bud Skincare, Hemp Face Oil ($61). The extra steps add water-based moisture for your serum to “grab” onto while the oil traps it in. Refer to my vaseline-free slugging routine for more details on how this works.
The Ultimate Bratz Foundation, Concealer and Contour
As mentioned, Bratz are not “no-makeup-makeup” girls so I went all out.
What You’ll Need:
- Smoothing foundation
- Full coverage concealer
- Under-eye corrector/brightener (sleep dependant)
- Blush
- Contour
- Bronzer (optional)
- Highlight (optional)
What I Did:
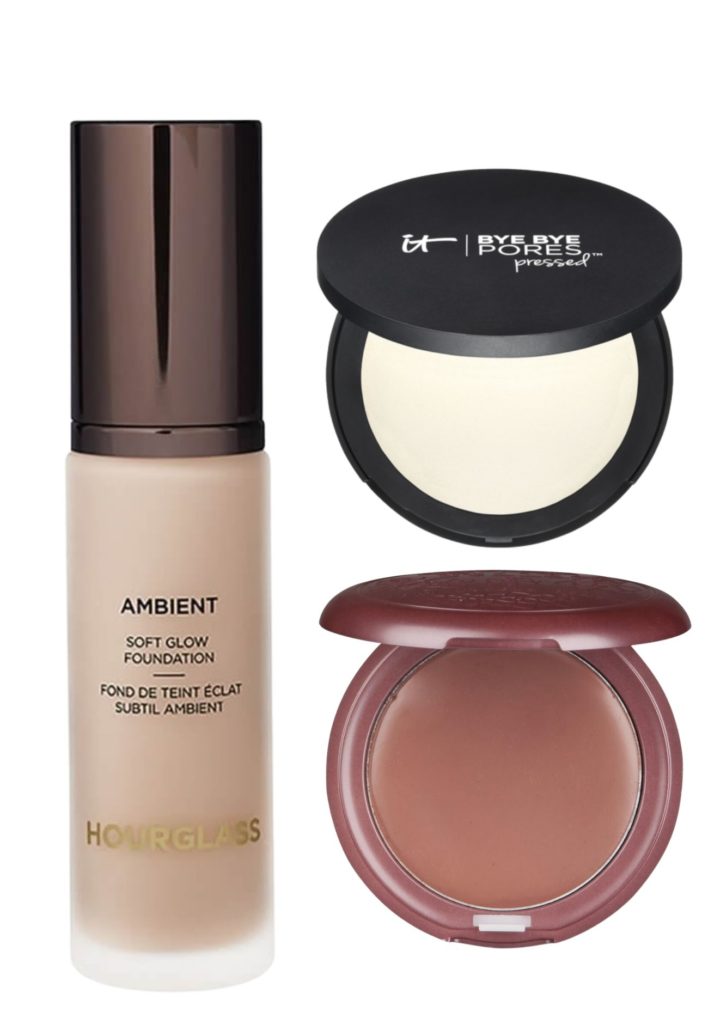
For my complexion, I reached for the new Hourglass, Ambient Soft Glow Foundation ($87), for a truly poreless, synthetic-skin finish with a lightweight, satin–matte feel.
I’m not including the brushes and sponges used in this tutorial, but you can assume there were about thirty. However…
Full Coverage Foundation Application Hot Tip: Buffing makeup on with a blending brush, or patting makeup on with hands or a sponge creates a more natural look because it removes or absorbs product as you work.
The best application technique is long strokes. Imagine you’re painting a wall. I like using a large, curved face and body brush — like this and this — as you can simply slide it across your face and neck, making short work of the process and creating a perfectly even application.

I’ve been in my no-makeup era for too long and my (divinely) subtle Giorgio Armani, Neo Nude A–Contour ($69) was not going to be up to the job of a Bratz contour.
Instead, I grabbed my old favourite contour stand-in: Stila, Convertible Colour in “Magnolia” ($38), a sheer, taupe rose that makes for a natural but defined contour on fair skin tones. Pale girl hack.
Then, my under eyes.
Despite aggressive dark circles, I don’t use a lot of product under my eyes. I’d rather minimise risk of creasing than look 100% well-rested. I just tell myself I look moody and French, like a Paradis.
Related: Cardi B’s Duck-Feet Nails Revive the Polarising Y2K Trend
Obviously, Bratz girls prioritise their self–care are very well rested, and as American icons, do not care about “French girl beauty.”
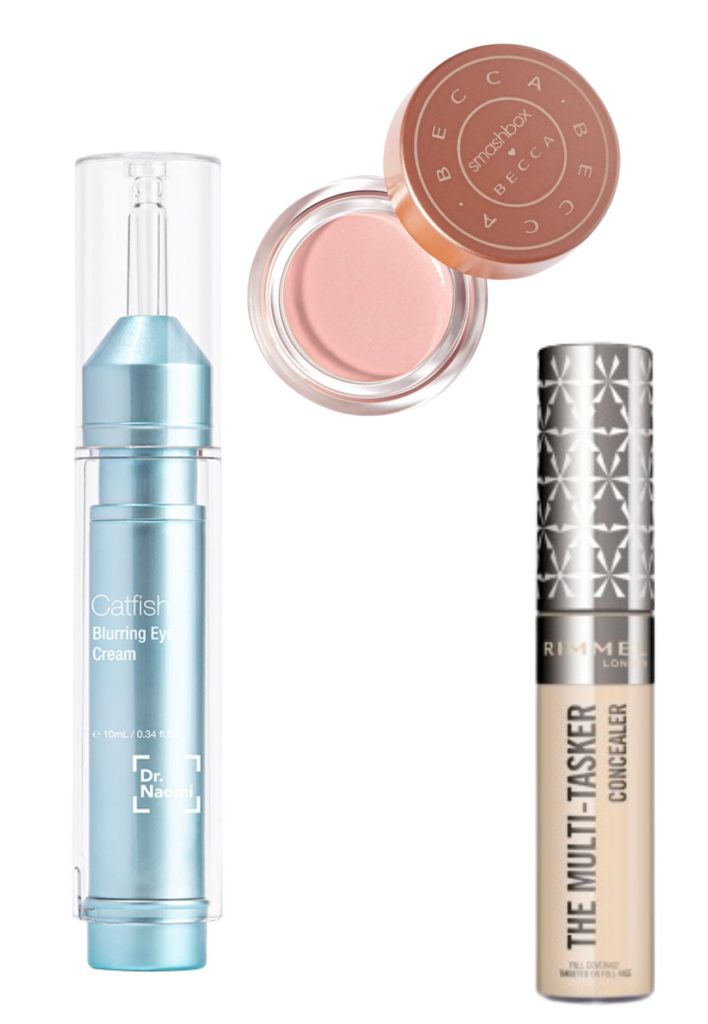
So, I used triple the amount of Becca, Under Eye Brightening Corrector ($50) and switched my preferred Charlotte Tilbury, Beautiful Skin Radiant Concealer ($49) for long-wear, full-coverage Rimmel, Multi Tasker Concealer ($10) I’d used in my eye look.
Concealer Crease-Prevention Hot Tip: If you find concealer creases and cakes throughout the day, my hottest crease-prevention tip is one product: Dr Naomi, Catfish Blurring Eye Cream, ($119). It spac-fillers your under eyes and creates a super smooth base.
That done, I was finally ready to blush and highlight.
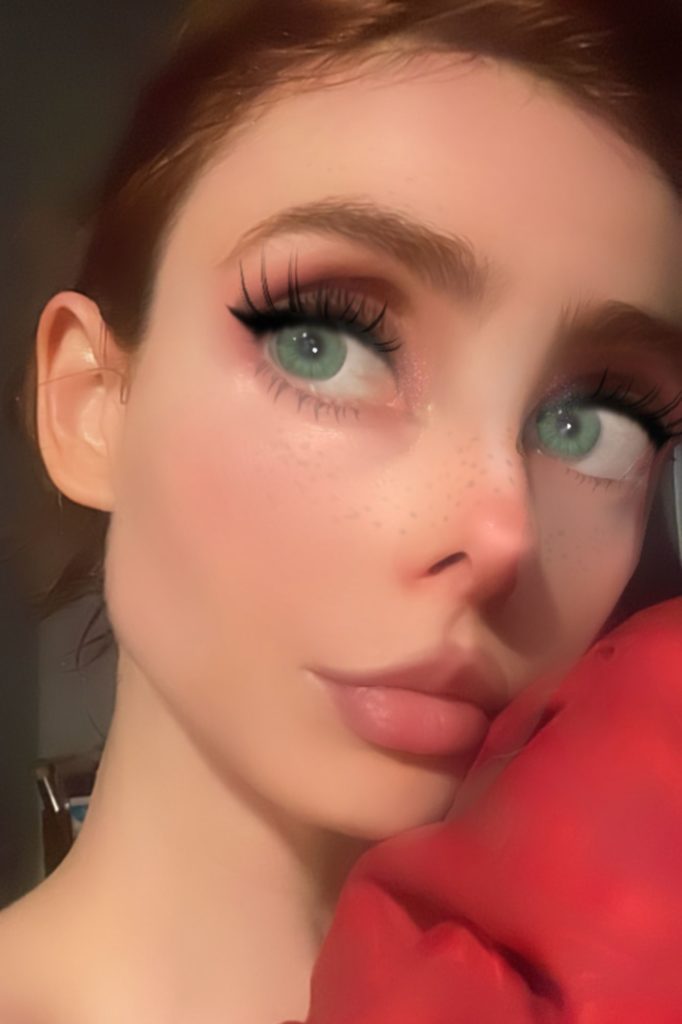
To understand Bratz blush application, I chucked on an Instagram filter. Once I’d recovered from how incredibly adorable I looked, I noted Bratz use blush to contour their nose bridge.
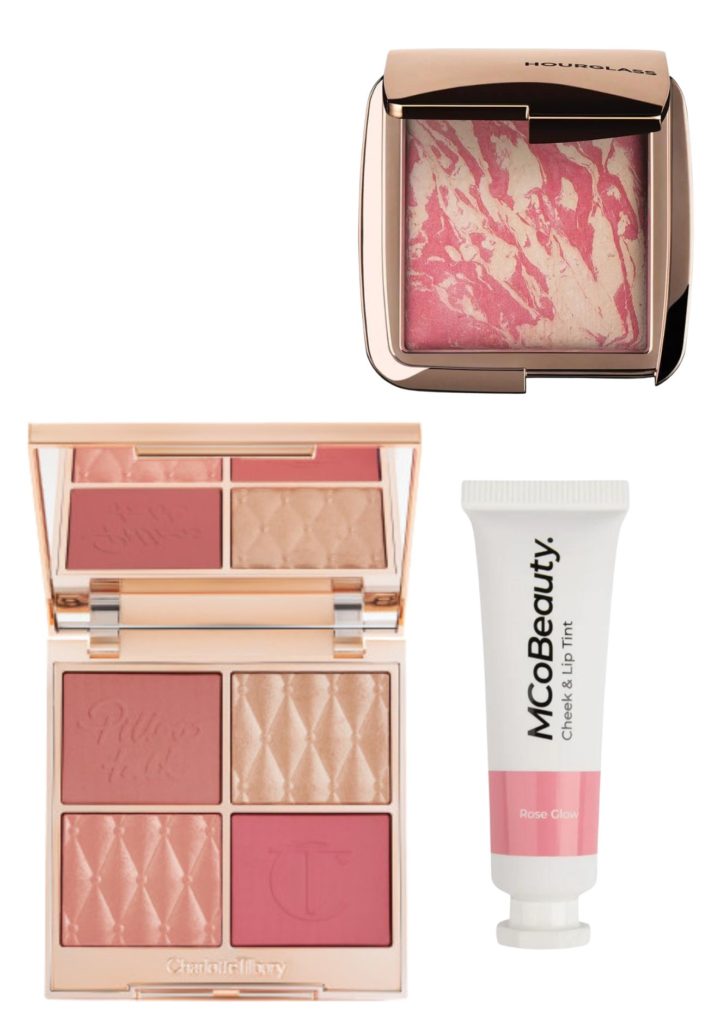
I applied MCoBeauty, Cheek & Lip Tint in “Rose Glow” ($12) and liberally applied Hourglass, Ambient Lighting Blush in “Diffused Heat” ($65), a rich, watermelon hue with a pearly finish, taking the colour across the bridge of my nose. Not satisfied with the level of glow, I added a heavy-handed application of the highlighters in my Charlotte Tilbury, Pillow Talk Beautifying Face Palette ($120).
I then set my look with It Cosmetics, Bye Bye Pores Pressed Powder ($47). Bye-bye, human skin.
Number Hours Late: 1
Number of products used: 23
The Ultimate Bratz Calloway-Contoured Lips
I’d been intending to apply freckles and love hearts, but was well behind schedule and panicking. I did, however, have a crack at the iconic Bratz lip after falling in love with my filtered Instagram face.
What You’ll Need:
- Lipliner in a lighter shade
- Lipliner in a darker shade
- Very glossy lip gloss
- Lip balm (plumping, preferably)
- White pencil or light concealer to sharpen the edges
What I Did:
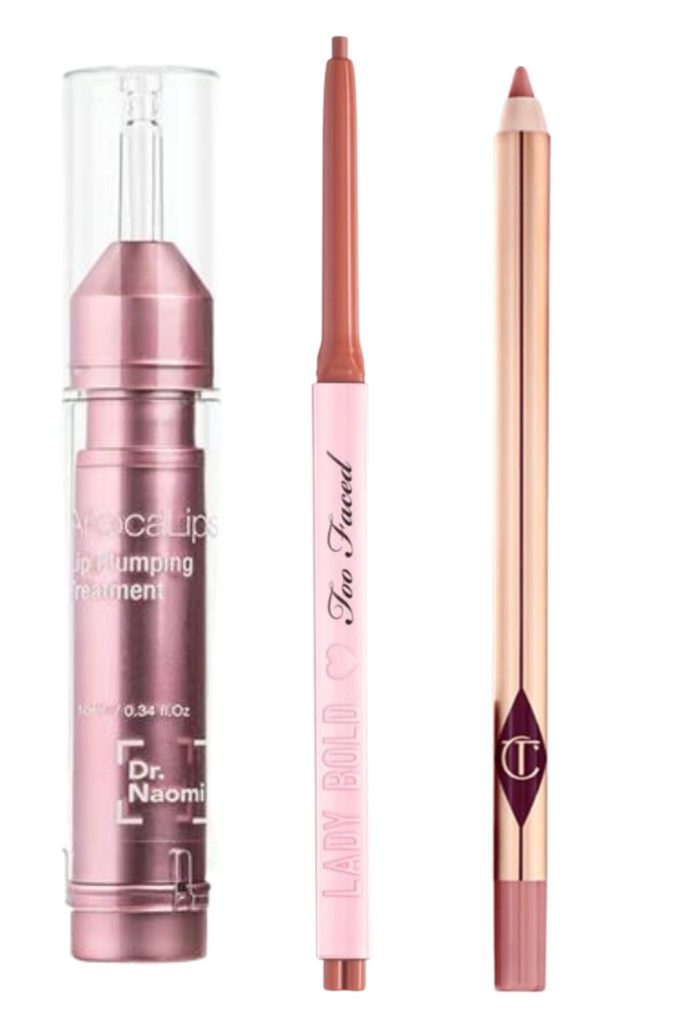
I turned to another Dr Naomi product: ApocaLips Plumping Lip Treatment ($89), which I’d applied before starting my makeup. Full of plumping peptides, liposome, hyaluronic acid and the required spearmint and menthol oil, this treatment smooths and instantly plumps, without giving me the aggressive, not-very-Bratz-y rash most cayenne pepper-heavy plumping treatments do.
If you’re doing a contoured lip look, apply your lip treatment early and then completely remove it with a tissue before lining. Your lip pencil needs something to grip to and you don’t want your fake lips slipping and sliding.
I then took a hack from none other than scammer/It Girl Caroline Calloway’s playbook.
Caroline recommends lining only your cupid’s bow — with Charlotte Tilbury, Lip Cheat in Pillow Talk ($34) — and then the centre lower lip with something deeper. I used Too Faced, Lady Bold Lip Liner in “Limitless Life” ($30). Keeping the contour centred makes your mouth higher rather than wider, while using a slightly deeper shade on the bottom adds a contour. It just goes to show that, while scammers are to be frowned upon, they are often innovators.
Finally, I added a dollop of Stila, Plumping Lip Glaze in Kitten ($36) to the lower lip only.
Number of Hours Late: 1 hour 15 minutes
Number of Products Used: 27
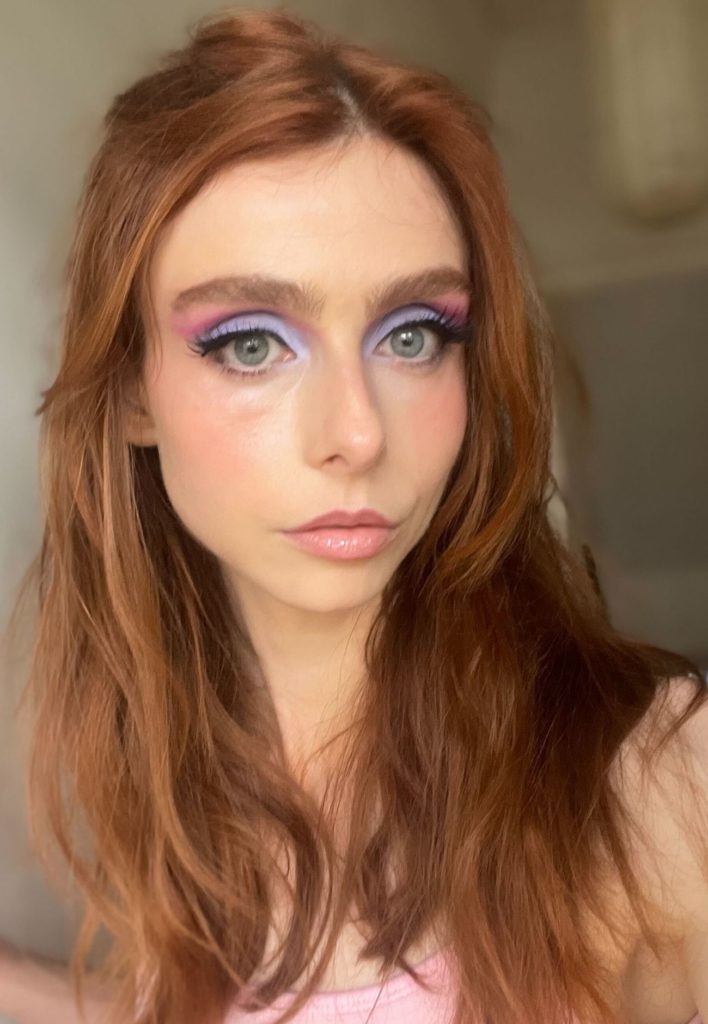
Was My Bratz Funky Fashion Makeover Worth It?
Number of Hours Late (including selfies): 2 hours
Number of Products Used (including kitchen scissors): 28
You would think the numbers would speak for themselves.
By the time I staggered to my desk I was two hours late and had been working on my Bratz game for three hours. Were I not a beauty journalist who had pitched this tutorial I would have been in a lot of trouble. Had I been heading into the office, I probably would have been violating a dress code. (They may have needed to make a new code.)
My 28th product, the kitchen scissors, left my heart racing for the rest of the day. I felt like I’d performed the makeup equivalent of sky diving without a parachute. My actual lashes were stiff with glue.
I had no time to Bratz-ify my hair.
I now understood why the girls at Bratz HQ sleep in their makeup. Indeed, I wished I’d thought of it.
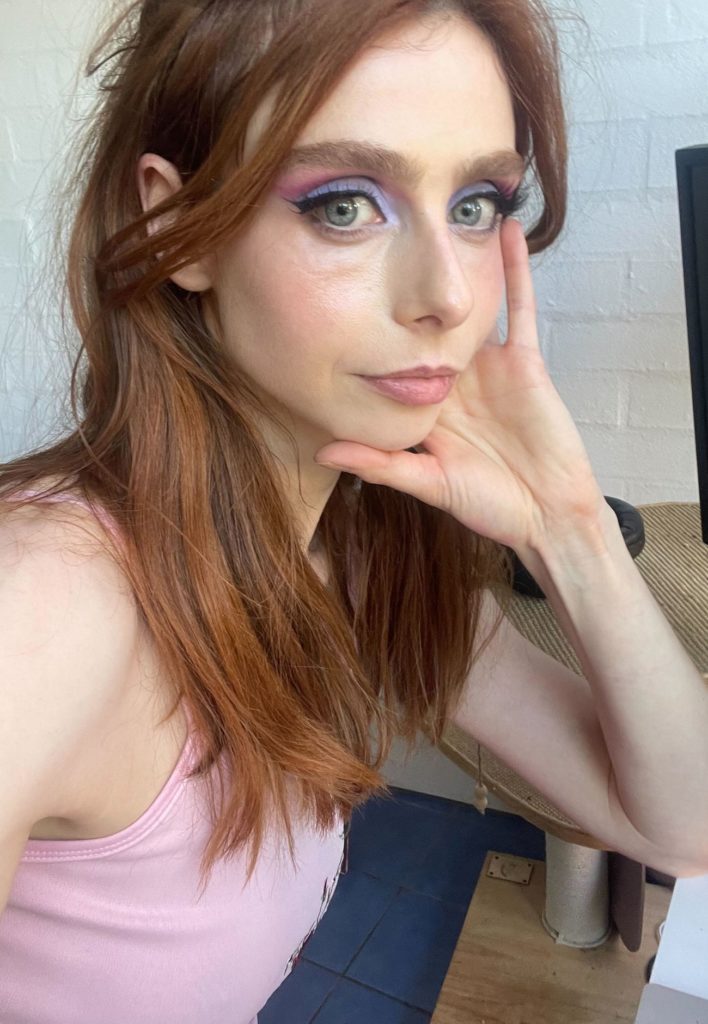
That said, the beat was vibe!
Was it worth two hours of my sanity? I vote yes because I have a goldfish memory and love a new beauty look.
If I didn’t already have everything I needed to create the look, would it be worth 27 products (brushes and scissors not included) $1405? Possibly not! But it lasted all day, and every time I caught a look at myself in the mirror while banging out articles about Julia Fox (who definitely lands Bratz in the “Bratz or Barbie” debate) I felt like one of the gang.
If you have a dress-up party, or simply want to get in touch with your early 2000s self, I wholeheartedly recommend it.
Just set aside a minimum of two to four hours, and stay organised. Or, download “Bratz, Total Fashion Makeover,” a 2022 version of your Y2K plastic doll’s head I found out about long after my Bratz-fuelled (but funky) makeup journey.
Every Product Needed For the Bratz Funky Fashion Makeover
Your Funky Fashion Eye:
Your Funky Fashion Brows:
Your Funky Fashion Skincare:
Your Funky Fashion Base:
Your Funky Fashion Cheek:
Your Funky Fashion Contoured Lip:
