- POPSUGAR Australia
- Fitness
- Pre-Yoga Class Stretches to Prevent Injuries
Pre-Yoga Class Stretches to Prevent Injuries

The average yoga class (that includes virtual!) runs about 60 minutes – but is that really enough time to fully reap the benefits of your practice?
“In the not-too-distant past, yoga classes were commonly scheduled for 75 or 90 minutes,” Tom Johnson, a certified yoga teacher with Enjoy Community Wellness, told POPSUGAR.
Due to the demanding schedules of busy practicers, condensing classes to an hour has become the new normal, resulting in a shortened warmup.
While this may benefit our agendas, it can be of a disservice to our bodies. Johnson admits that warming up both the body and mind not only reduces the risk of injury, but prepares students to practice more complex postures.
Instead of letting your hectic routine get the best of you, take full advantage of your allotted yoga time with Johnson’s pre-virtual-class flow – your muscles, joints, and mind will thank you.
Yogic Breath (Pranayama)
“Practicing deep yogic breathing – or pranayama – resets the mind and body and prepares you for yoga practice,” Johnson explained.
Deep breathing is a strong foundation for any practice because it heats the body, relieves the mind of everyday distractions, and helps guide you to slow down and go deeper.
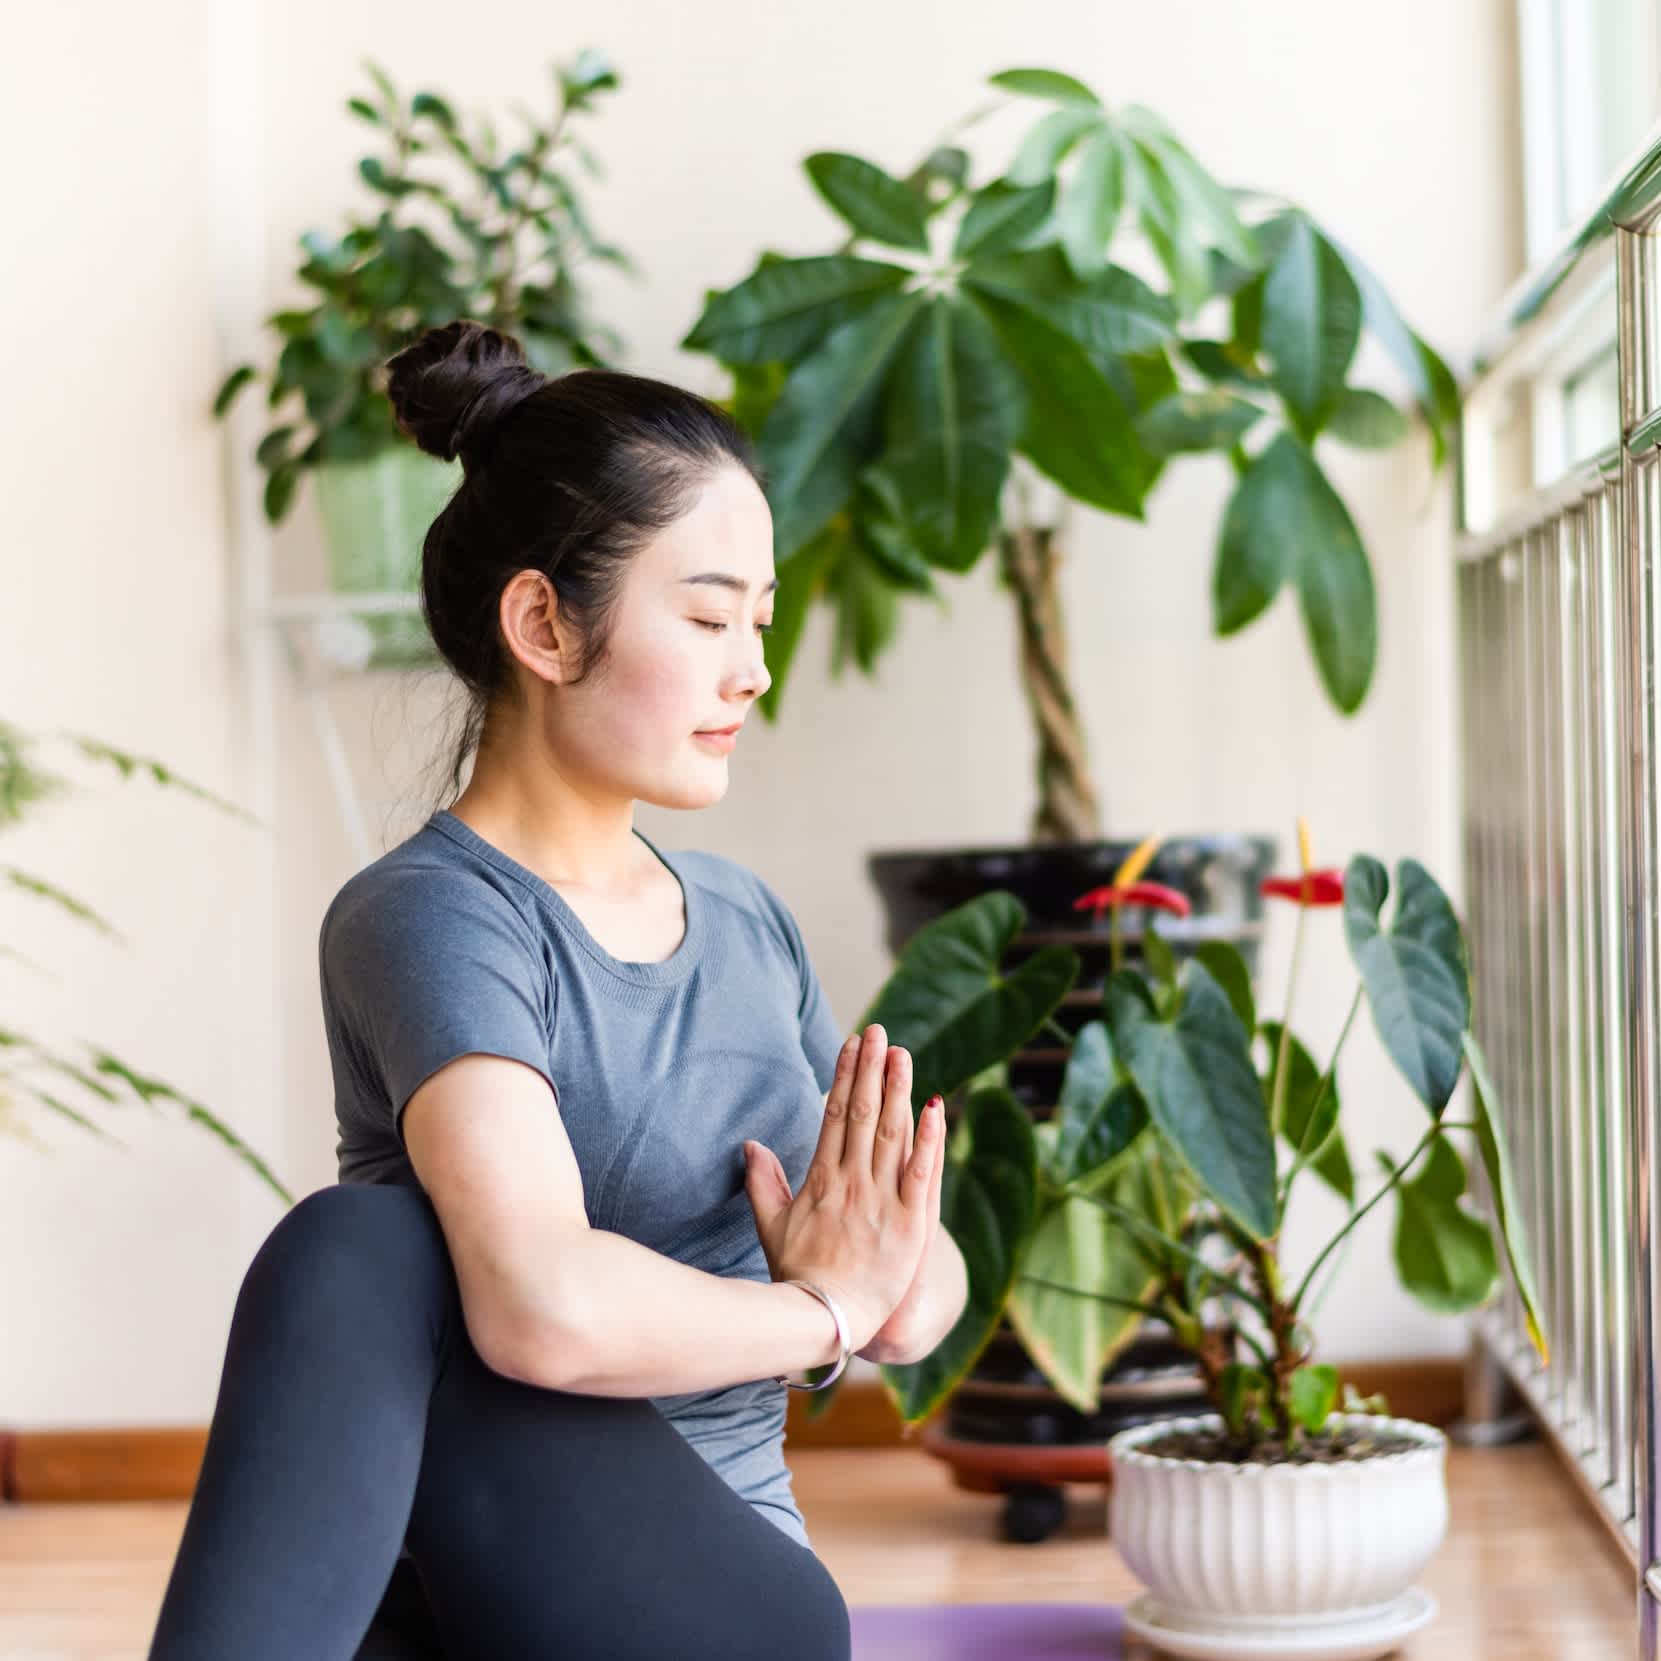
- Find a comfortable seated position that you can hold with some ease.
- Root down through the sit bones and find some length in the spine through the crown of your head.
- Lift the shoulders up to the ears, draw the shoulders back, and let the shoulder blades glide down your back, opening the chest.
- Without changing it, notice the quality of your breath. For most of us, the breath is short and shallow, which tends to trigger stress in the mind and body.
- Now, deepen the breath, drawing it in through the nose, slowly, all the way down to fill the belly.
- Then, feel the inhalation rise in the chest and fill the throat.
- Open up the mouth and sigh the breath all the way out, pressing out the last bit of stale air from the lungs.
- Watch as the exhale turns into an inhale and draw it all the way down to fill the belly again.
- Sigh it out again through the mouth.
- Do this five times. Then, seal the lips and continue deep belly breathing for 10 to 20 more breaths.
Cat-Cow (Marjaryasana, Bitilasana)
Cat-Cow pose reinforces the connection to the breath and begins to warm up and open the spine, rib cage, shoulders, and hips – key elements of most yoga postures, Johnson notes.
Plus, this move helps to tone and massage the internal organs and muscles in the core.
- Start on your hands and knees with your hands planted under your shoulders and your knees under your hips.
- Point your index finger to the top of the mat and spread your fingers apart.
- Shift your gaze down between your hands to lengthen the neck.
- Start with Cow pose: with a deep inhale, arch your back by dropping your belly, pointing the tailbone up and lifting your gaze up toward the ceiling. Your shoulder blades should come together on your back.
- Transition to Cat pose: exhale as you press your hands into the mat to round your back toward the ceiling. Gently bring your chin to your chest and point your tailbone down to the mat. Your shoulder blades will open to the outside of your back.
- Keeping a strong connection to your breath, inhale and transition back to Cow pose. Then, exhale and transition back to Cat pose.
- Repeat five to 10 times.
- Come to rest in Child’s pose (Balasana) by pressing the hips back to the heels, bringing the forehead down to the mat, and extending the arms overhead. Widen the knees to the outer edge of the mat and bring the big toes together to touch under the hips.
- Stay connected to that deep yogic breathing.
Bird Dog (Parsva Balasana)
Bird Dog pose warms up the back muscles, which support the spine and are critical to many balancing postures while strengthening the core and challenging balance and focus, Johnson explains.
- Start as you did in Cat-Cow pose: on your hands and knees with your hands planted under your shoulders and your knees under your hips.
- Gaze down between the hands.
- Inhale as you lift and extend your right leg straight back from your right hip; press back through your right heel to gain length in the leg.
- At the same time, lift and extend your left arm forward with your palm facing in and thumb up to the ceiling.
- Gaze down to create length in the neck. Hold for two full rounds of breath.
- Exhale and release back down to hands and knees.
- Repeat on the opposite side.
- Repeat three times on each side.
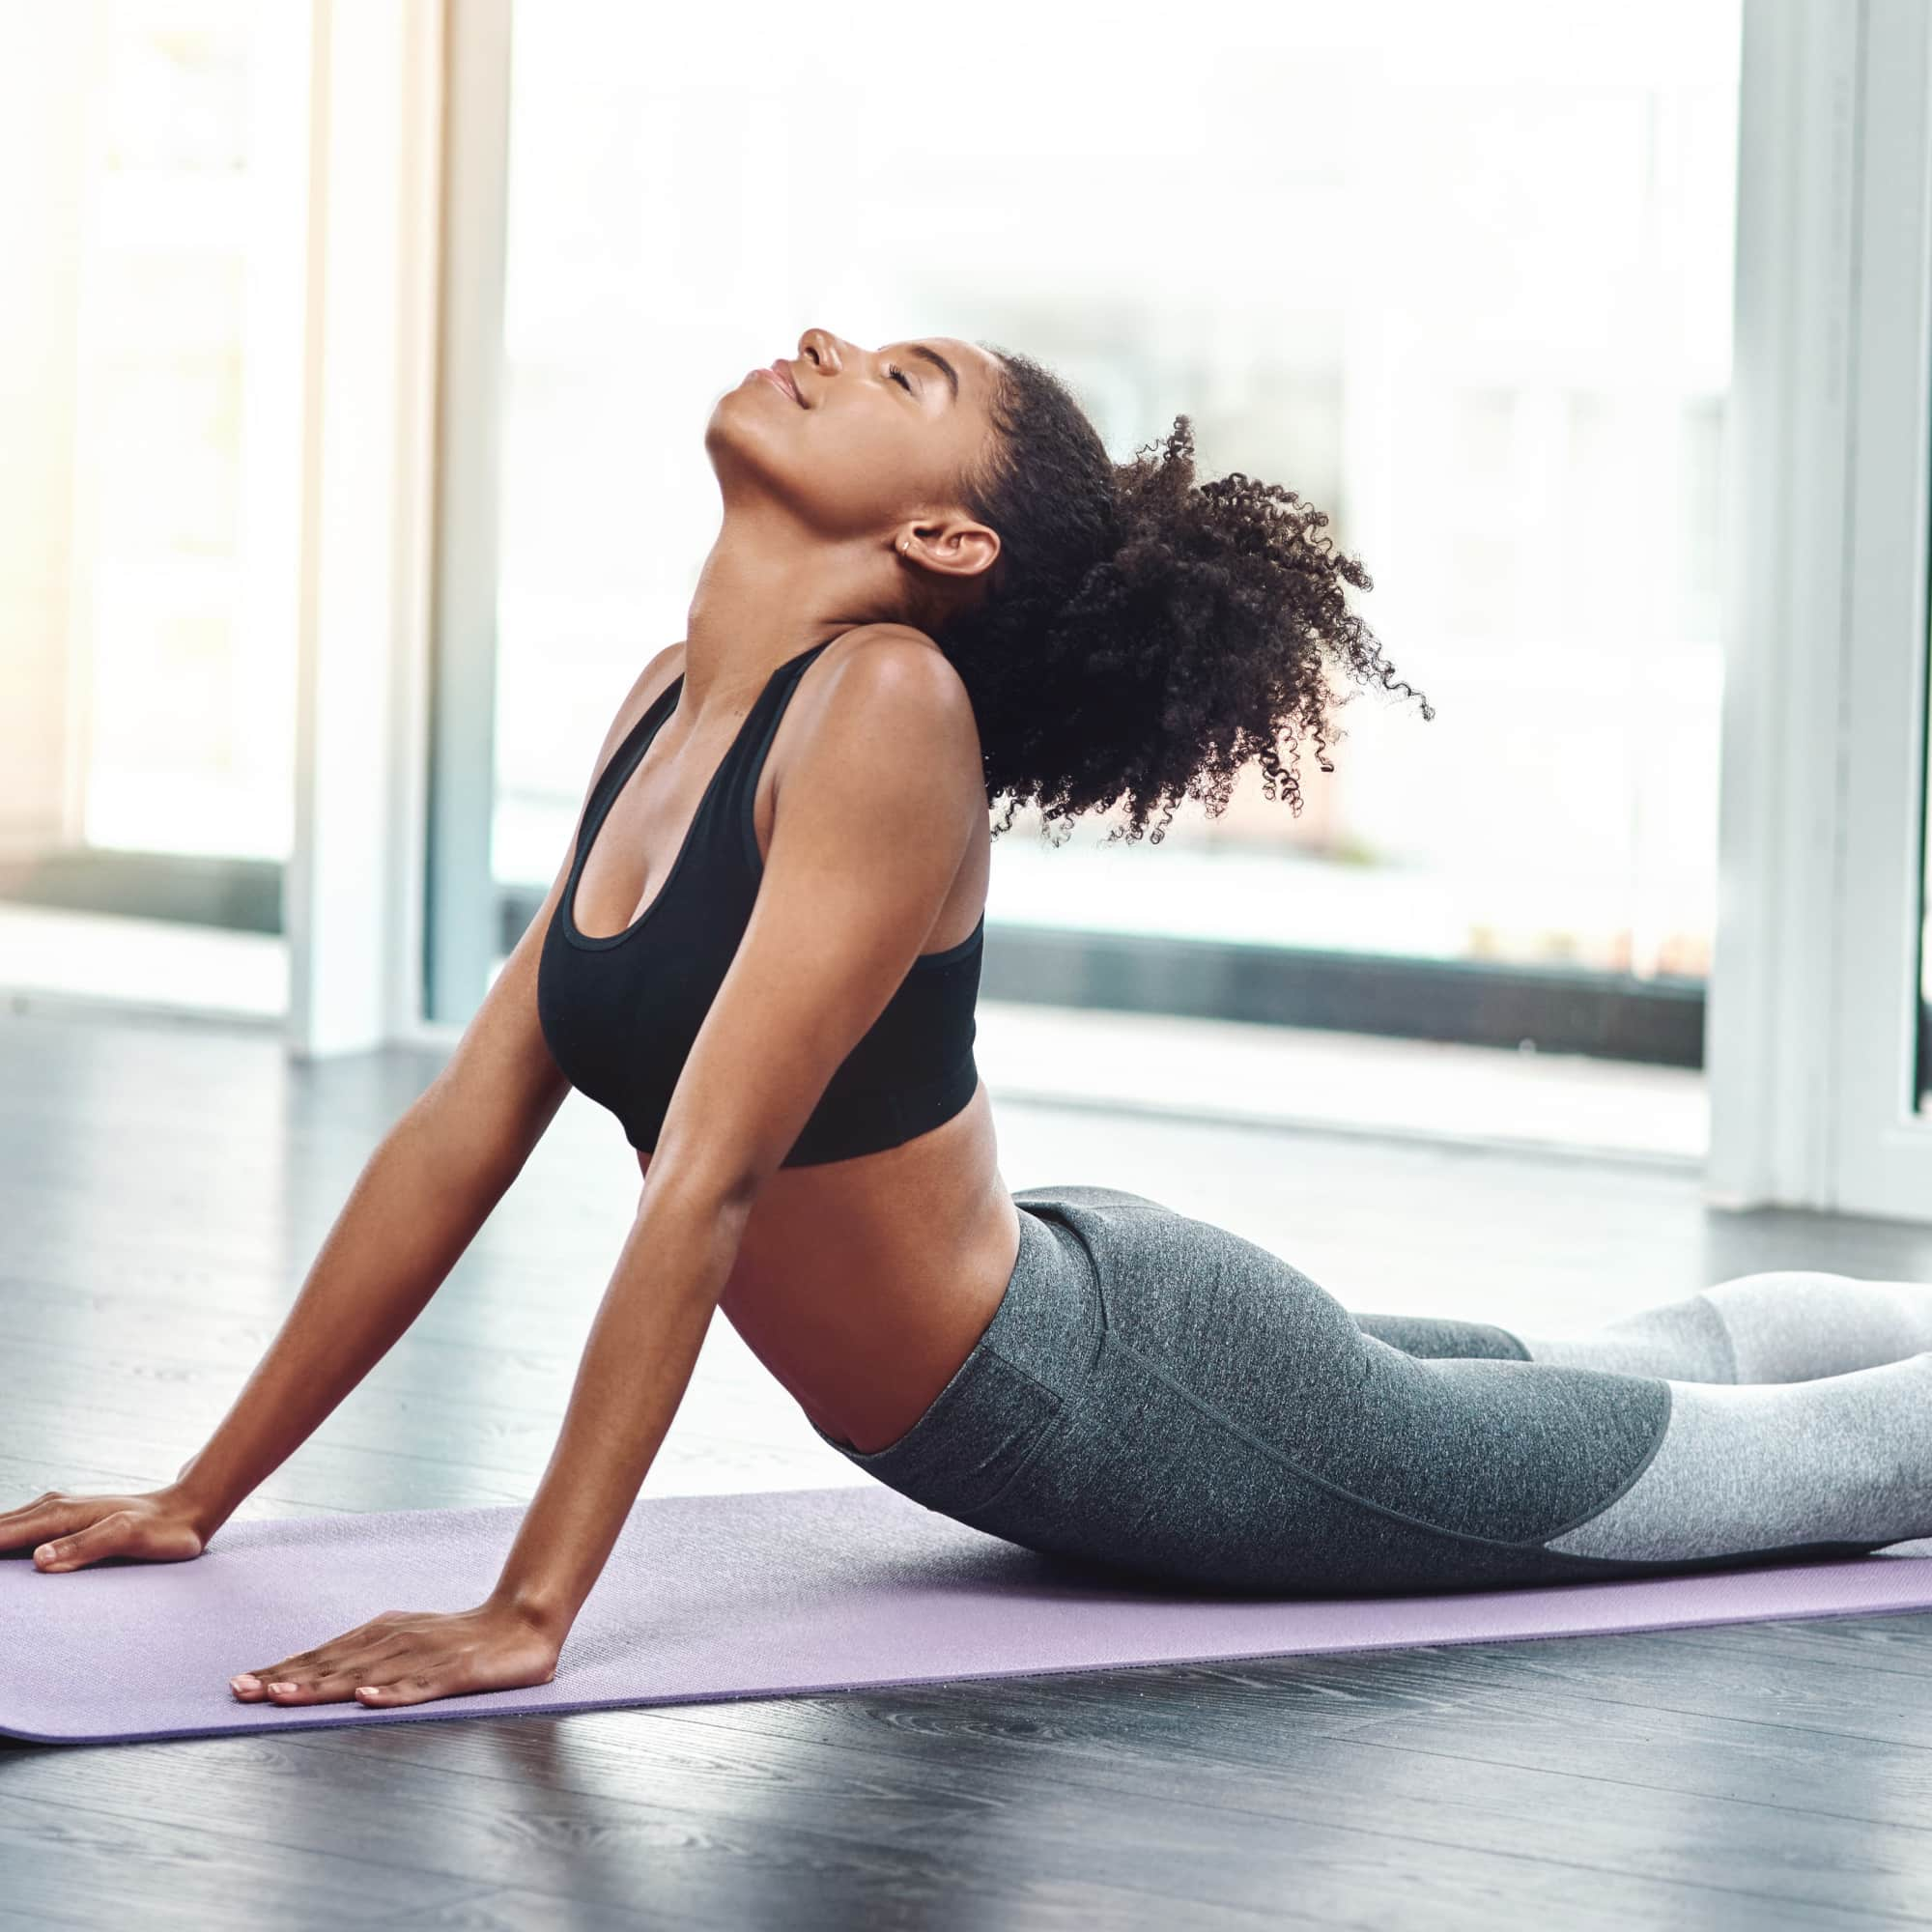
Cobra (Bhujangasana)
According to Johnson, Cobra pose helps to open the front side of the body, massage abdominals and organs, strengthen the back muscles, and open up the chest, shoulders, and core.
- Lie on your belly; lying flat on the floor. Extend your legs back, untuck your toes, and bring the tops of the feet onto the floor.
- Bend your elbows and bring your hands underneath your shoulders.
- Hug your elbows into the side of your body. Press the tops of the feet and pelvis into the floor.
- Inhale and lift the head, shoulders, and top of the sternum off the floor.
- Draw the shoulder blades down the back toward the hips and begin to straighten the arms going only to the point where you can maintain the connection of the feet and pelvis on the floor.
- You should be able to lift your hands from the floor and hold the pose.
- Draw the tailbone toward the heels to create even more length in the spine.
- Hold the pose 15 to 20 seconds, maintaining connection to the breath.
- Exhale and release back to the floor.
- Repeat three times.
Downward Dog (Adho Mukha Svanasana)
Now that individual parts of the body are warmed up, it’s time for full-body stretching and toning.
Johnson explains that Downward Dog pose energizes the body while calming the mind and nervous system.
- Come onto all fours on the floor, just as you did to set up for Cat-Cow: hands under shoulders and knees under hips.
- Point your index fingers toward the top of the mat and spread all 10 fingers on the mat to provide a firm base.
- Tuck your toes underneath your heels to open the balls and soles of the feet.
- Create an upside-down “V” with your body.
- To do this, exhale and lift your knees away from the floor and start to straighten your legs. Keep a slight bend in the knees as you activate the legs and press the heels toward the floor while lifting the sit bones toward the ceiling.
- Don’t worry if the heels don’t reach the floor. Focus on creating length through the hamstrings by spinning the upper thighs inward while pressing the tops of the thighs back. Enjoy the opening of the calves and ankles.
- At the same time you’re establishing the base in your legs, you will also establish a base in your arms. Press the bases of the index fingers actively into the floor and equalize pressure in the remaining fingers. Spin the triceps downward and biceps up while maintaining the stability of the shoulder blades on your back.
- Evenly distribute the weight between your arms and legs. Don’t let the head drop; stabilize it between the upper arms.
- Settle into stillness in the pose, or peddle out the feet to further open the calves and ankles. Hold for one-to-two minutes.


