- POPSUGAR Australia
- Living
- A Step-by-Step Guide to Growing Your Own Pumpkins in Your Apartment
A Step-by-Step Guide to Growing Your Own Pumpkins in Your Apartment
by
emily weaver

Unsplash / Erik Mclean
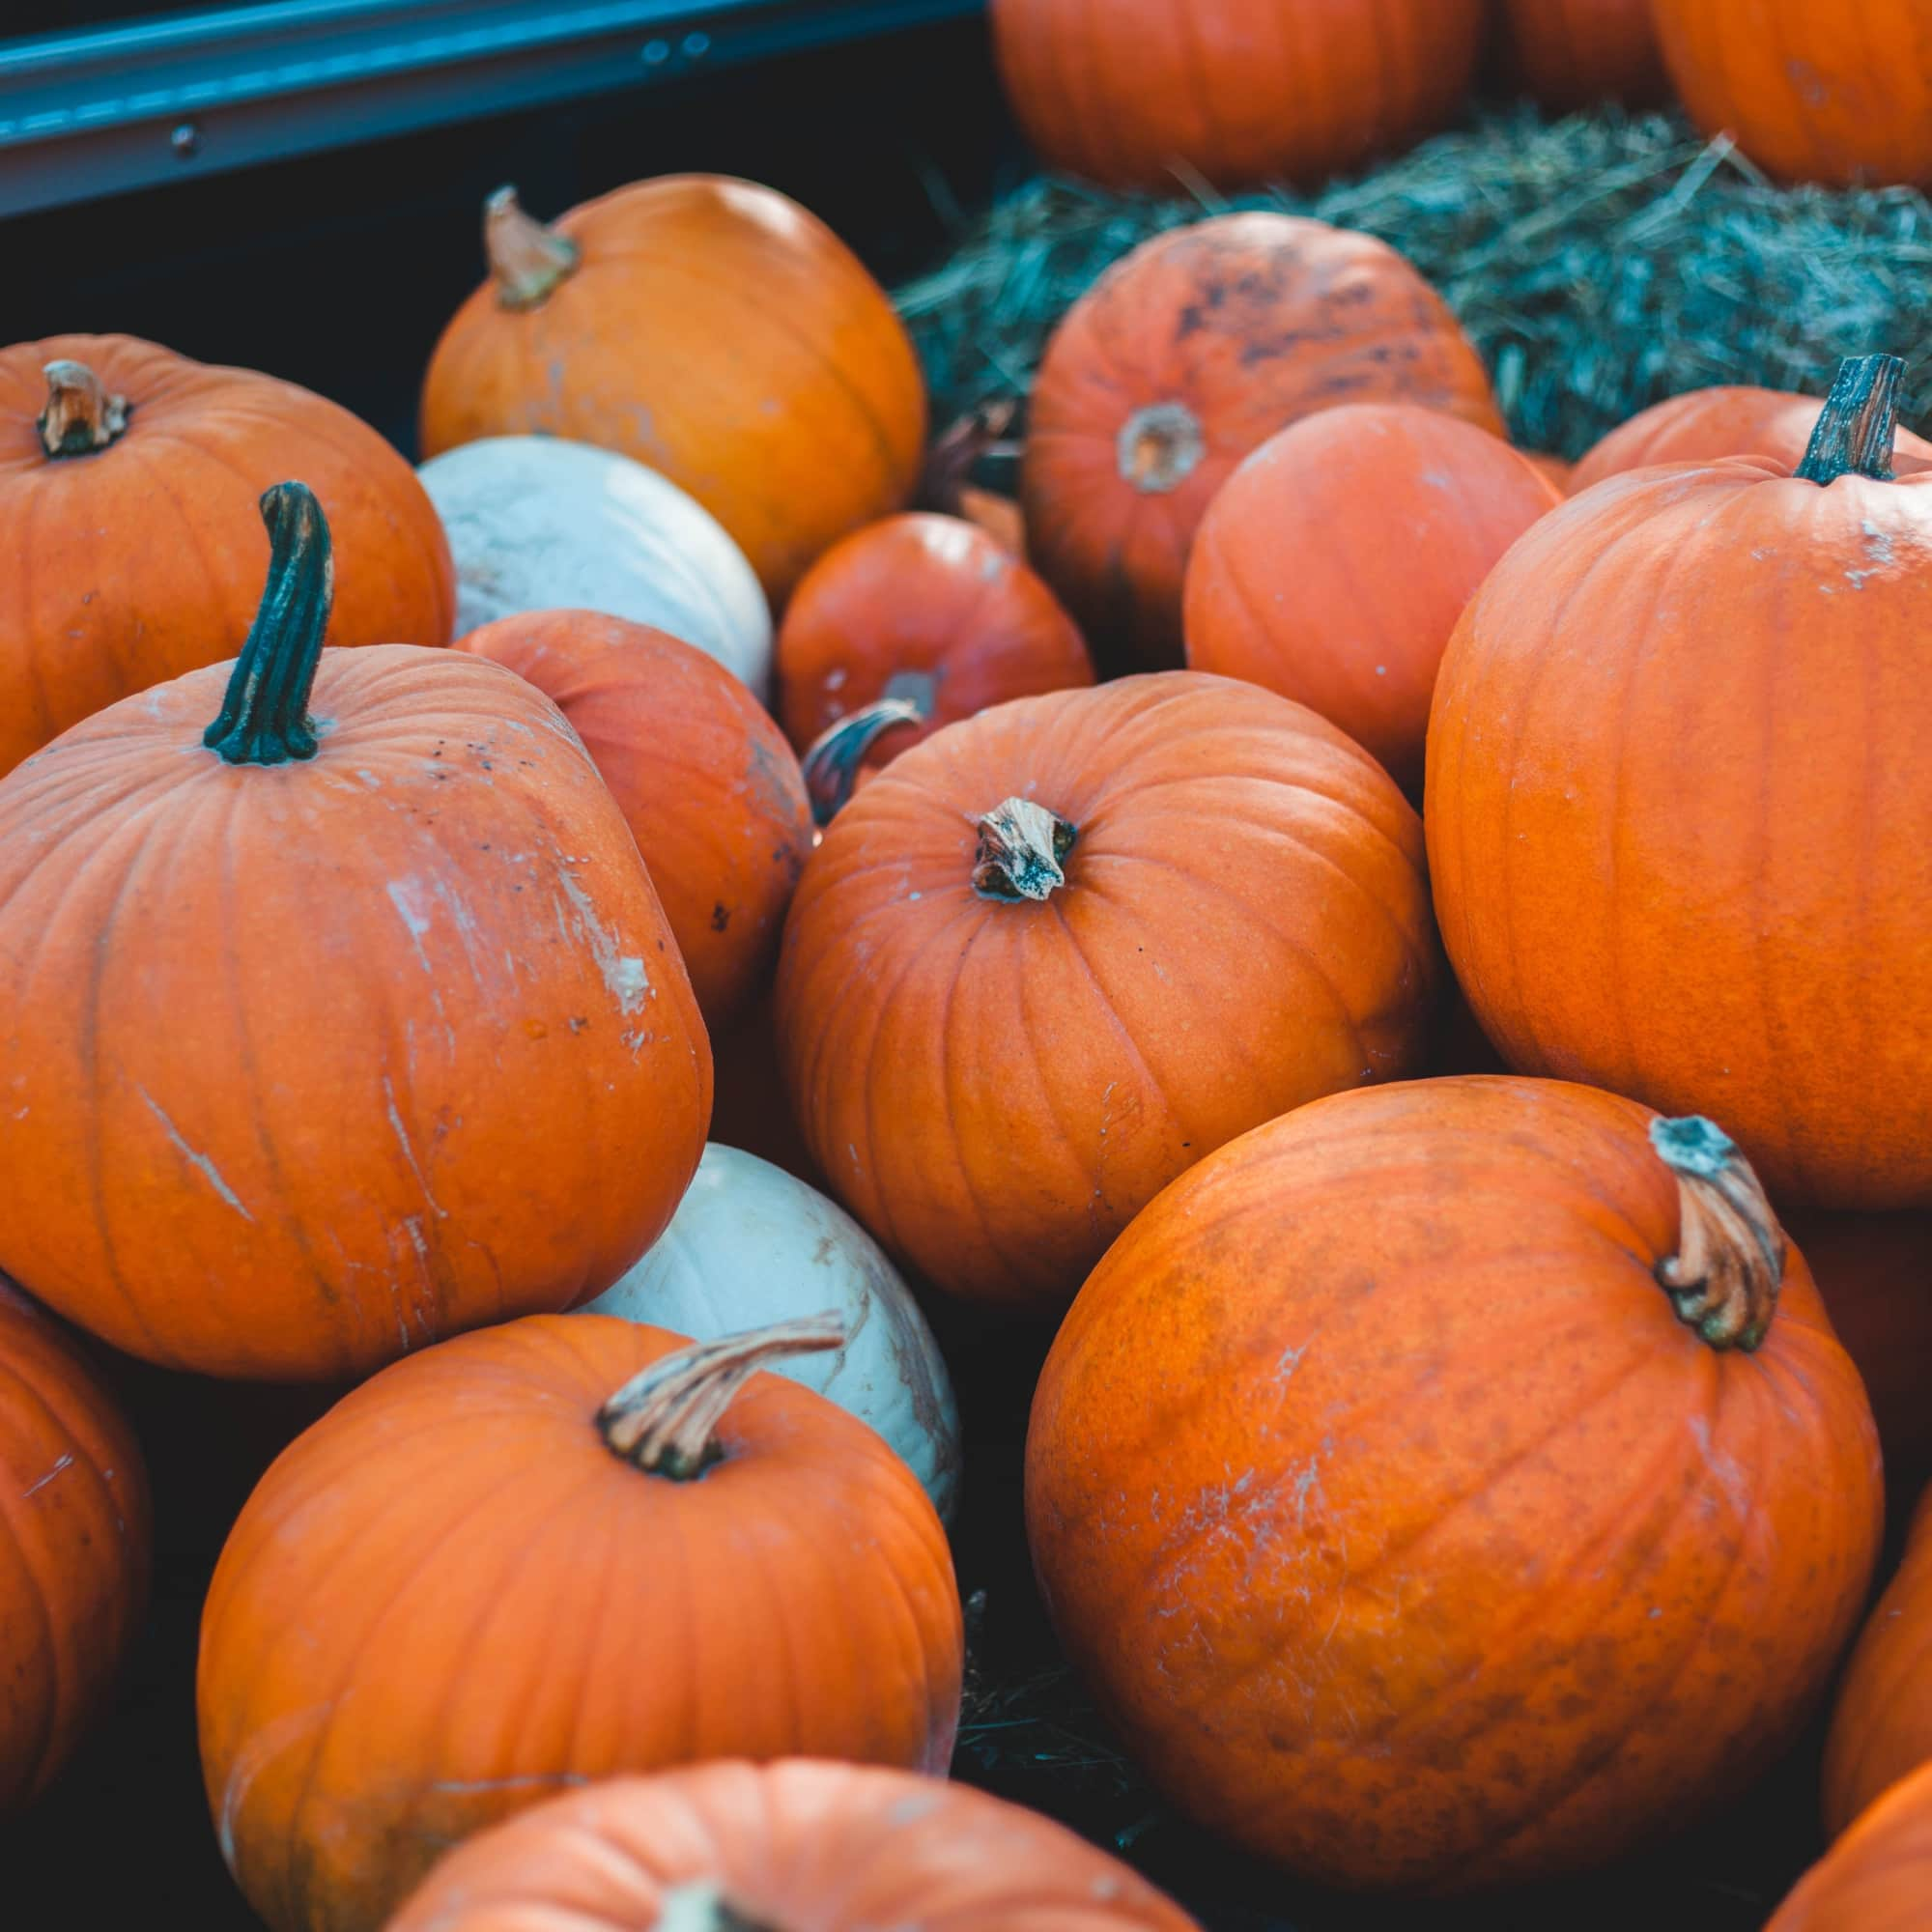
Have you ever wanted to grow your own pumpkin but have stopped yourself short due to a limited availability of outdoor space or simply because the process seemed too difficult? Well, it’s not as scary as you might think! As it turns out, having outdoor space is far from mandatory for growing pumpkins, and arguably the hardest part is the duration it takes for the fruit to reach full maturity, which is about 100 frost-free days. However, there are plenty of steps you can take to assure your pumpkin is receiving the best care possible. Here’s how to grow your own pumpkin inside your apartment to have one in time for Halloween.
Related: You Can Order Harry Potter Pumpkin Juice From Universal's Website, So Is It October Yet?
- Determine what kind of pumpkin(s) you want to grow. You can pretty much grow any type or size of pumpkin at home, but depending on how much indoor space you have available, you should probably opt for smaller pumpkins like a Jack Be Little or Mini-Jack.
- Choose the right pot. The bigger the pumpkin, the bigger the pot. You’ll want to allow an adequate amount of space for the pumpkin and its vines to grow. Typically, smaller pumpkins need a 10-gallon pot, and larger pumpkins require about a 20-gallon pot. If your pot doesn’t come with draining holes at the bottom, you’ll have to carve out your own to avoid excess moisture from collecting.
- Find the perfect spot for your pot. On average, pumpkins need about six hours of sunlight daily. Make sure your pumpkin’s home receives lots of sunlight and air circulation. Like other plants and fruits, if it’s stored in damp areas, its growth will be stunted and bacteria could form.
- Plant the seeds. Pumpkins need rich soil, which can be achieved by adding a few layers of compost to loosened soil. Seeds should be planted one to two inches deep and with proper care; dark leaves should begin emerging in two weeks tops. Water your pot weekly.
- Build a trellis. Vines are vital to a pumpkin’s health. For growth and support, build a trellis away from walls or furniture so the vines and leaves can continue to grow unbothered. You can cut unnecessary vines or leaves, but be careful to not disrupt the roots.
- Continue to nurture your pumpkin. Growing pumpkins is an ongoing process. In addition to the trellis and watering, you’ll need to nurture your pumpkin in other ways. This could include adding mulch or using row covers to protect from pests and dampness.
- Pick your pumpkin. Once your pumpkin is at full harvest, cut a few inches away from the stem. You can tell if your pumpkin is ripe from either dead stems or by applying pressure with your fingernail to your pumpkin. If it leaves an imprint or mark, then it’s mature.
- Store your pumpkin at the right temperature. Your pumpkin should be stored in a warm place for two weeks following harvest. After, store your pumpkin in a cool, dry area like your patio. This would be the ideal time for decorating or carving your pumpkin!

