- POPSUGAR Australia
- Beauty
- A Detailed, Pro-Approved Guide to Every Single Beauty Treatment You Can Do at Home
A Detailed, Pro-Approved Guide to Every Single Beauty Treatment You Can Do at Home

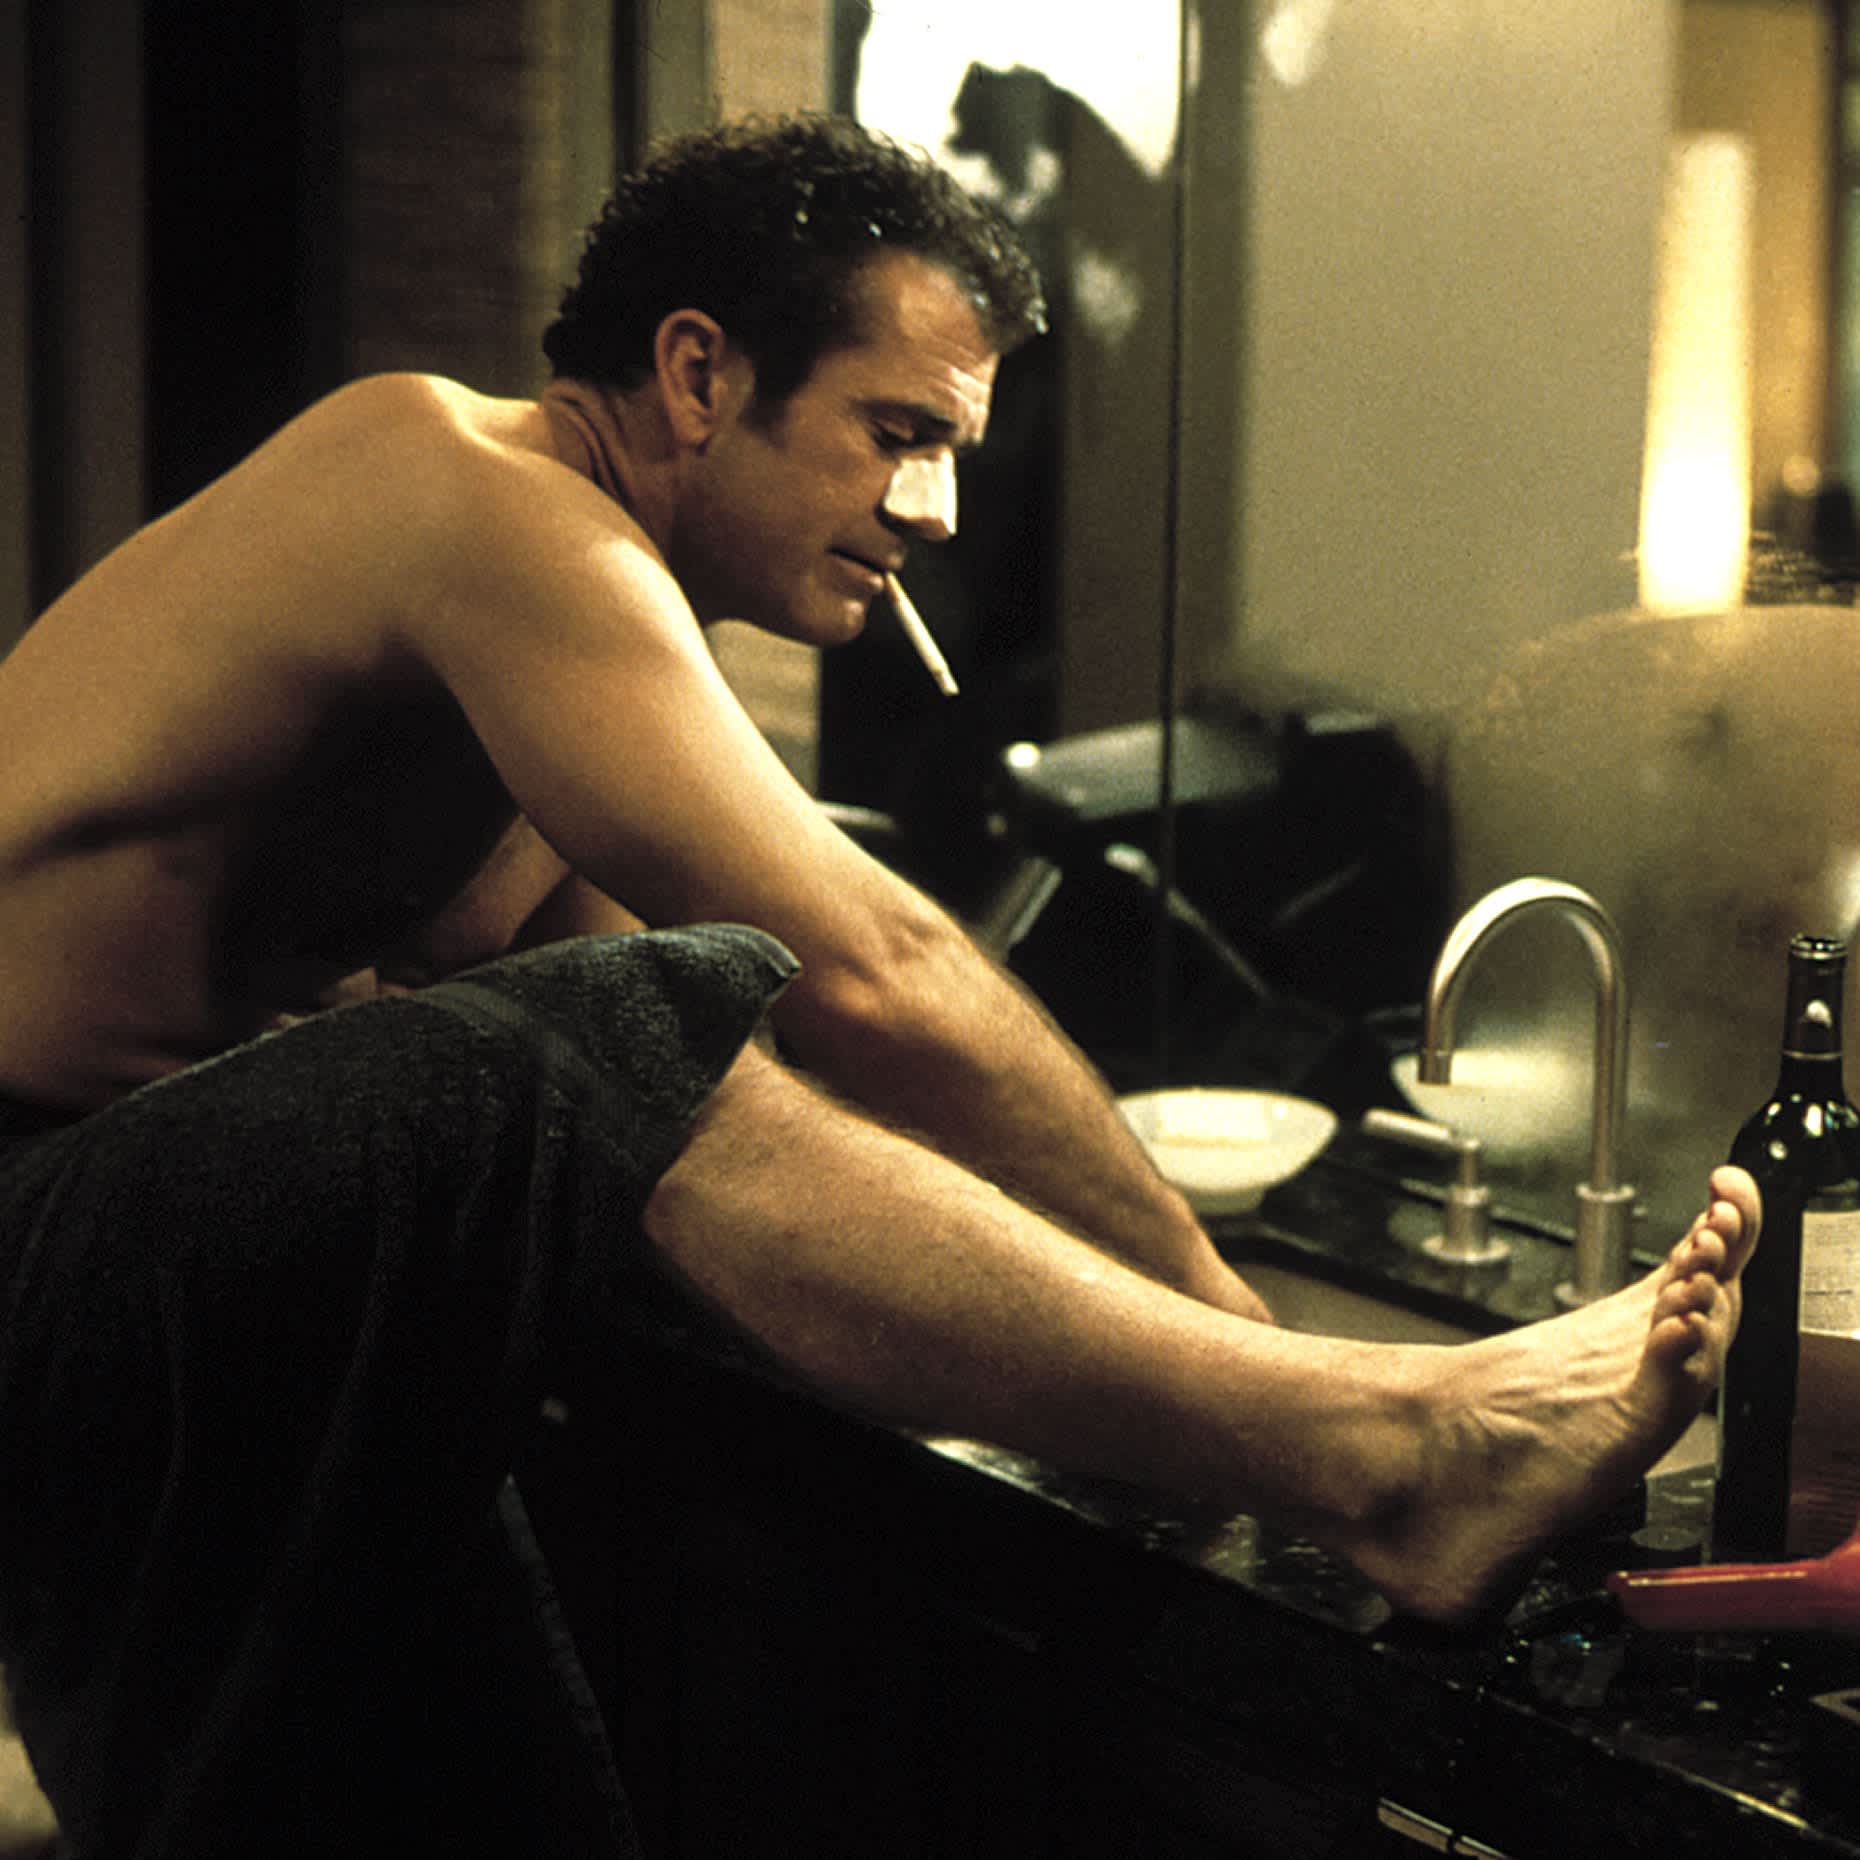
Here’s something Mel Gibson’s character in What Women Want most assuredly would have liked to know: DYIng an onslaught of beauty treatments at home is a lot easier when you have expert advice to go by. (That, and you should probably never drink and wax.) We also don’t know who needs to hear this, but most in-salon services – haircuts, gel-manicure removals, bikini waxes – are best left to the pros when stay-home orders lift.
Until then, and in the event that you simply must act now or forever hold your peace (no, really, you’ve seen the botched dye jobs on Instagram, right?), we’ve gathered the step-by-step guides from the industry’s top hairstylists, colourists, manicurists, facialists, and more on exactly how to pull off an at-home beauty treatment with aplomb – or at least give you a more satisfying ending than you’d find in a cheesy rom-com.
A Hairstylist's Tips For Trimming Your Hair
The best advice is to leave your haircut in the hands of a pro, but when push comes to shove and you need to DIY, celebrity hairstylist Sunnie Brook has a few tips you can take to make the process a little easier to do at home. All you’ll need are a towel, a comb with wide and fine teeth, scissors, a scrunchie, and fine mist spray. Once you’ve gathered those, check out her very helpful play-by-play of trimming your own hair at home.
Step 1: Gather the Right Tools
Lay a towel on the surface you’ll be cutting over to make the cleanup super quick and easy. Pick up your comb with wide and fine teeth. Brook says the wide-tooth side gives less tension, which is great for wavy or curly textures. You’ll also need a good pair of scissors, so it glides through and doesn’t chew your ends. The main goal is to open up your hair around your face, add some movement, and remove dry ends while keeping the length.
Step 2: Create a Guide on Dry Hair
You’ll need to cut on dry hair so you can see the shape. Wet hair isn’t the best indicator, Brook said, as it stretches. Create a guide in the front, by taking the tiny pieces on both sides. Use your ears to section those away. Twist the part where you want to cut it, take the scissors, and cut down. That gives the hair more of a tapered end instead of a blunt one. Remember, if you have wavy or curly hair, less is more because your hair will bounce up.
Step 3: Cut in Small Sections
Go little by little – you don’t want to cut off too much. Then use a scrunchie or a hair tie to put up the back half of your hair. Keep cutting the front part of your hair from top to bottom, toward the floor.
Step 4: Move On to the Ends
Don’t forget to check along the way that the sides are even by bringing both ends side by side in front of your face. Once you are done with the front, take out your ponytail. Separate your hair onto both sides, and cut into the ends vertically. This will soften your blunt ends and add a little more movement.
Step 5: Revive Your Hair
You’re done! Use fine hair mist to revive the hair and see the shape.
A Manicurist's Tips For Removing a Gel Manicure
Tempting as it may be, picking off gel polish is a big no-no – especially when it’s possible to safely remove your gel manicure in the comfort of your own home. You can either grab a ready-made set like the Orly Gel Removal Kit ($20, originally $25), or you can pick up all the essentials – at least 10 foils, acetone, a buffer block or nail file, cotton balls, and manicure sticks – to DIY. Celebrity nail artist Elle breaks down the process in full.
Step 1: Choose Your Removal Method
There are two at-home removal options: soak your nails in acetone for an extended period of time, or wrap them with acetone-soaked cotton balls and foil.
Step 2: Gather Your Tools
For the first method, grab a bowl big enough to fit all 10 fingers with acetone and fill it with warm water and acetone. For the latter option, lay out your 10 foils, 10 cotton balls, and acetone. Both require a nail file.
Step 3: Let the Acetone Soak Off the Color
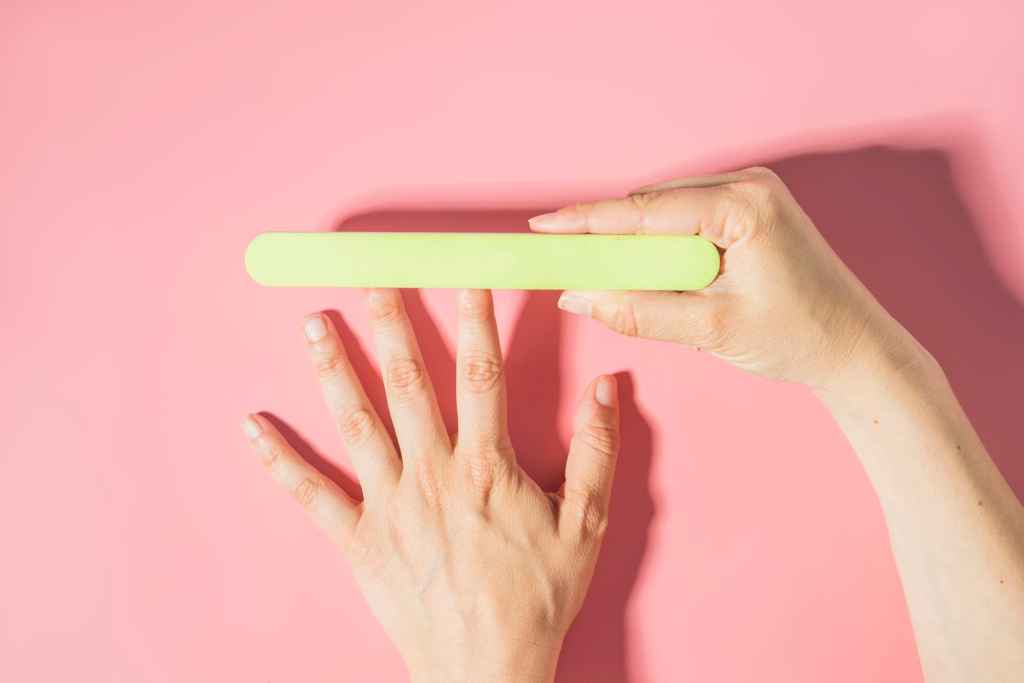
Gently file the top layer of your nail polish to remove the top coat and prep it for easy removal. For the soak process, dip your fingers in the acetone bowl for 10 minutes. If you want a little more mobility, apply the acetone-soaked cotton ball to each nail and then wrap them with foil. Leave the foil on for 15 minutes.
Step 4: Remove the Gel
Using a wooden cuticle stick, gently push the polish off your nails. (Note that if the coat of color doesn’t easily scrape off, that means you need to soak it for longer.) This process can be a tad drying, so finish off each nail with a drop of cuticle oil.
An Aesthetician's Tips For a Perfect At-Home Facial
We know, we know: nothing beats the glow you get coming fresh from a spa treatment. Yet, treating your skin to a mini at-home facial can still work wonders (and feel great, too). Founder of the NYC-based Glowbar Rachel Liverman shares the six steps to follow for a seamless DIY.
Step 1: Cleanse Your Skin
Like a spa facial, the first step is to wash your face (Liverman recommends a cream cleanser for people with dry skin or anyone looking for a little extra moisture.) Then, to ensure you remove every last bit of dirt or makeup that your cleanser may have missed, follow with a gentle toner. “Just make sure the product is alcohol-free, so it doesn’t dehydrate the skin.”
Step 2: Exfoliate
According to Liverman, a postshower chemical exfoliation is a must at least once a week. This will help remove any dead skin and increase the penetration of skin-care products. A mask with lactic acid is a great option because it’s hydrating, but also sloughs away dead cells for a brighter, more even-toned visage. “Once a week is enough for the majority of people – I don’t want anyone overstripping their skin and hurting the skin barrier.”
Step 3: Do a Hydrating Mask
In the colder months, or if you have especially dry skin, Liverman suggests you follow your exfoliating mask with a hydrating mask to ensure your freshly exfoliated skin gets the adequate moisture it needs to look glowing. (Just make sure it doesn’t also have other exfoliating properties to avoid irritation.)
Step 4: Add Your Treatment of Choice
An important thing to keep in mind when giving yourself a facial at home is that you only want to do the treatments based on your specific skin concern. While chemical peels and extractions can make a huge difference, those are best left to the experts. For an easy treatment you can do at home, try an LED light therapy. “Red light can help fight acne and signs of aging, while blue light kills bacteria that causes acne,” she said. “Red light also stimulates collagen production and helps speed the skin’s natural healing process.”
Step 5: Apply Your Serum and Moisturizer
Next, treat your skin with a serum based on your current skin concerns. If your skin is dry, reach for a superhydrating formula with hyaluronic acid. If you have decongested pores or acne, try a retinol product, which can help regulate sebum and speed up cellular turnover. Then follow with your favorite moisturizer and eye cream. (Pro tip: this is also a good time to get in that facial massage you love so much when you go to a spa.)
Step 6: Finish With SPF
Next up: sunscreen, which you should apply every single day – even if you spend most of your time indoors.
A Technician's Tips For an At-Home Bikini Wax
Just like with the professional service, there are a few rules and best practices you should know about waxing at home to ensure you don’t irritate your skin and get the best possible hair-removal results. So first-time waxers, listen up: Natalie Ismiel, brand ambassador and expert at Nad’s, is sharing everything you need to know before DIYing at home.
Step 1: Find the Right At-Home Waxing Kit
“If you are a first-time user, I recommend using a wax kit,” she said. “It’s applied with a spatula, as opposed to ready-to-use wax strips.” Kits also give the user more control over where the wax is going on the skin and how thick it’s being applied, which Ismiel explained is essential when waxing coarser hair. When shopping, look for natural and sugar-based formulas, and make sure there are no added colors, fragrances, and chemicals, to lower your risk of irritating the skin.
Step 2: Make Sure the Hair Is the Right Length
You have to grow out your hair in between salon waxing appointments, and the same goes for at-home sessions. “Hair needs to be a minimum of 1/8 inches long,” Ismiel said. “Trim hair to this length if it looks longer.”
Step 3: Prep the Skin For Waxing
Many of the same rules apply here as they do for professional waxing, and exfoliating beforehand is key. “It’s important that your skin is clean and free of oils, dirt, and moisturizers,” Ismiel said. “A well-timed scrub has plenty of benefits. It removes dead skin cells that block the hair follicle (the cause of undesirable ingrown hairs).”
Step 4: Relax
Read the instructions printed on the box to minimize your chances of mistakes and irritation, then breathe. “Relax your body and take deep breaths. Once you’ve done your first wax, you’ll find that every wax after that gets easier and less painful.”
Step 5: Start Small
For any area, but especially bikini and Brazilian, the key is to find a position you’re comfortable with and gives you good visibility. When you’re ready to get started, Ismiel recommends you work in small areas, starting from the outside and working your way in to the more sensitive areas. “If you’re using a hard wax, let it cool on your skin for about 30 seconds so it’s still soft and pliable but no longer sticky to touch. If wax is left on the skin too long (after one minute) it becomes harder to remove.”
Now for the really not-so-fun part: “Hold skin taut with one hand and then lift the end of the wax with the fingers of your free hand,” he said. “Grip the wax and with one quick motion, remove the wax close and parallel to the skin in the opposite direction of hair growth.”
Step 6: Don’t Forget About Aftercare
The work doesn’t stop when you remove the last strip of wax. Immediately afterward, reach for soft, comfortable fabrics, like cotton, to ensure you don’t irritate newly waxed skin. “After 24 hours, it is crucial to exfoliate your skin at least three times per week to avoid ingrown hairs,” Ismiel said, adding that you can also apply a hot compress for 15 minutes a few times a day after you remove hair – but only after your skin has healed from the wax.
A Hairstylist's Tips For Cutting Your Bangs
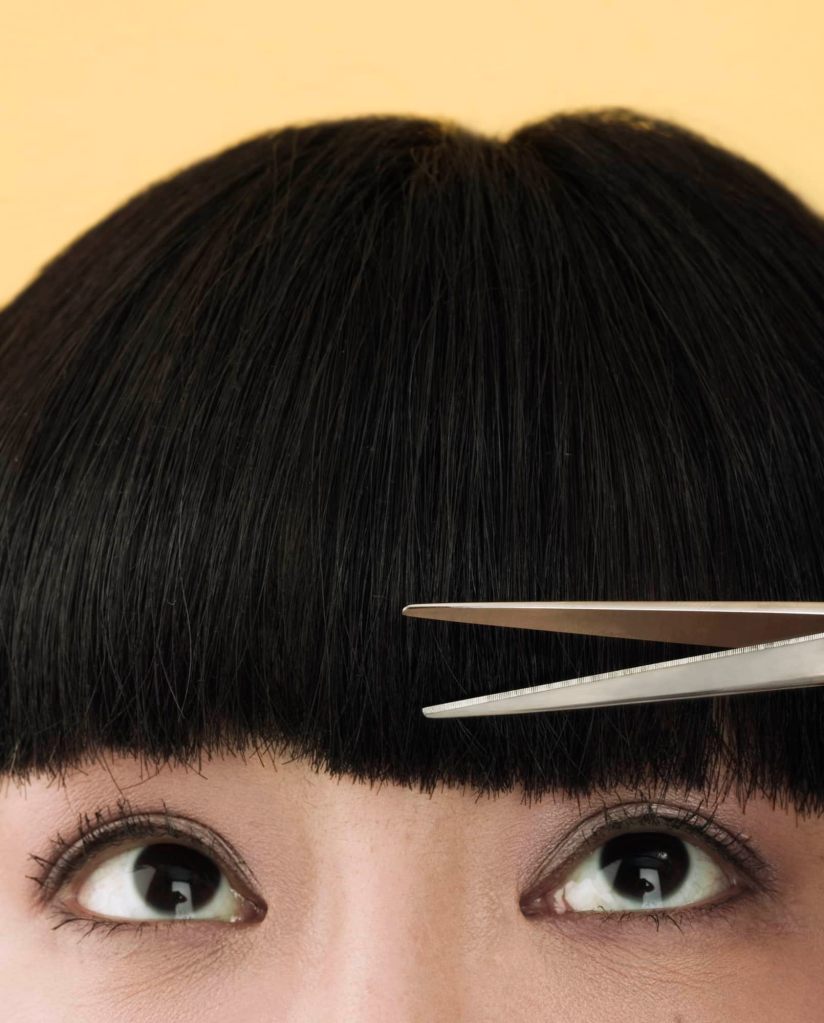
So, you want to cut your own bangs. (You and Miley Cyrus and about everyone else.) To help you get the best results, Glamsquad‘s artistic director Giovanni Vaccaro took to Instagram for a quick – and dare we say easy – tutorial. All you’ll need are sectioning clips, a comb, and hair-clipping scissors.
Step 1: Let Your Bangs Lay Naturally
To start, Vaccaro recommends cutting on dry hair because it’s more forgiving. Use the sectioning clips to separate the rest of your hair from the bangs. “I like to actually have it styled the way you normally would wear it,” he said. It helps reduce your chances of cutting too much.
His next big tip: don’t hold the hair. “Women tend to use their fingers to hold the section of hair and they put too much tension which makes the bang spring up after you cut it,” Vaccaro said. “Basically, let your bangs fall naturally.”
Step 2: Comb Through the Hair
With your comb in one hand and scissors in the other, comb underneath your bangs a few times before stopping a couple of centimeters way from the edge of your hair. Then, with the scissors held perpendicular to the hair, you can start with a “point cut” – this adds texture to the hair and keeps the ends more natural. For blunt bangs, hold the scissors straight across. “Use a comb as a guide and measure twice and cut once,” Vaccaro said. “Be cautious as to keep going over them, they may get shorter than you wanted them.”
Step 3: Cut in Increments
You can always cut more, but you can’t put back length that you didn’t want to lose. Because of this, Vaccaro recommends cutting a little bit at a time and going back and repeating step two if you want to make your bangs shorter.
Step 4: Add a Few More Deeper Cuts
Once you removed the length you want to trim, Vaccaro said he likes to go back in, comb through the entire bang, and add a few more deeper point cuts. By spreading these out in the bang, it helps break the hair up a bit more. (You can ignore this step if you have blunt bangs.)
A Brow Expert's Tips For Shaping Your Own
Maybe you’re looking to use this time at home to grow out your eyebrows (and to that we say: there’s no better time than the present), but if you’re looking to keep yours groomed and in tip-top shape, celebrity brow stylist Joey Healy has some tips.
Step 1: Pick Up the Tweezers
Desperate times make it tempting to try an at-home waxing kit or threading on your brows, but resist the urge. Instead, and because you’re working with an area with such little hair (in comparison to, say, your legs), you want to carefully tweeze stray hairs.
“When tweezing, pull the hairs in the direction that the hair grows,” Healy said. “Make sure you only tweeze dead center (the ‘unibrow’), your forehead, the temples, and the upper eyelids. When you’re doing it yourself, you’re giving yourself a general perimeter, and you don’t want to overpluck.”
Step 2: Snip Longer Hairs With Scissors
Most people don’t think to trim their eyebrows when doing at-home brow maintenance, but it can make a world of difference. Use a scissor made specifically for trimming eyebrow hair. “The key is to trim one hair at a time at an angle,” he said. “Never trim in a straight row across. Your brow ends up looking very blunt and stubby.”
Step 3: Don’t Go Overboard
“If you do find that you’ve overworked one of your brows, just stop,” Healy said. “Don’t try to fix your eyebrows by making the good one match the bad one.” Until you can see a professional for help, use makeup to fill them in and make the mistake less noticeable. The last thing you want to do is mess up both of your brows in the name of symmetry.
A Spray Tanner's Tips For the Perfect Self-Tan
If you’re an avid spray-tan enthusiast, switching over to applying self-tanner at home can seem intimidating, but it’s actually quite simple. These tips from a handful of pros – including St. Tropez’s skin finishing expert Sophie Evans, Tan-Luxe’s lead artist Alexandra DiMarchi, and more – can help.
Step 1: Do the Prep Work Ahead of Time
The same rules you’d follow before going to a professional spray tanner apply to the at-home process, as in make sure you exfoliate the day before and keep your skin moisturized. You’ll also want to take care of any hair removal ahead of time. If you plan on waxing, do it at least 24 hours before your appointment. “Waxing can open up your hair pores, so allow the skin to settle after your wax so that your spray tan does not come out with a spotted pitted look,” Evans said. And if you choose to shave, do it eight to 12 hours beforehand.
Step 2: Consider Your Options
Whether you choose a clear formula or one with color guide depends on personal preference, but most people agree beginners could benefit from seeing the shade they are applying. On the other hand, “clear tanners allow you to see true color as it is developing,” DiMarchi said. “For example, after four hours you will start to see a slight glow, then light color at six hours. At seven to eight hours you should be at medium to dark. This method of transparent about the process, and you’ll avoid the ‘I lost all of my color’ notion after rinsing the product.”
Step 3: Hydrate Your Hands and Feet
“A common tanning mistake for beginners is applying too much tan to drier areas such as hands, elbows, knees, and feet, which results in an uneven finish,” said Clara Anderson, head VIP tanner of Vita Liberata. “To avoid this, apply a light layer of an oil-free moisturizer to those areas prior to tanning and use a makeup brush to buff product lightly over the skin. Don’t forget to wipe the knuckles and the palm of the hands clean when you’re finished to remove any excess product, giving the most natural finish.”
Step 4: Start Slow, and Practice on Covered Areas
First, you’ll want to practice on areas that aren’t typically visible. If all goes well, you’re ready to move on to your arms and legs. Most brands offer light, medium, and dark shade options, so if you’re unsure, start light; if that’s too subtle, build up from there the next day. If you’re using a mousse formula (which tends to blend the easiest), grab a tanning mitt and apply the product in large, sweeping motions until it’s all blended. The key: take your time to ensure your color is evenly applied.
Step 5: Stay Hydrated
The best way to extend the life of your faux tan? Moisturize, moisturize, moisturize. Just make sure you’re using an oil-free formula, since oils can dissolve the color.
A Hairdresser's Tips For Coloring Your Hair
If you’re not a professional, there are plenty of opportunities for a DIY hair colour to go wrong, which is why you should listen to the pros when they offer up their expertise on how to make the task easier for all of us. Our favorite advice of the bunch? These tips from Brad Mondo, New York City-based hairstylist and founder, CEO, and creative director of XMONDO Hair‘s latest video tutorial.
Step 1: Start With Dirty Hair
If your hair is oily from skipping a wash day or two, or even if you’re dealing with a little bit of product buildup, you might be tempted to shampoo before the process to start with clean hair. But according to Mondo, that’s not the best idea, since when you wash your hair, you’re creating tiny abrasions on your scalp that the dye or bleach you use can then easily slip into once you start the coloring process.
“This is going to make coloring your hair very painful,” he said. “If you’re using bleach, that bleach is going to seep into those little, tiny cracks in your scalp, and it’s going to sizzle and burn.”
Step 2: Brush Your Hair, and Section It Off
Whatever you do, don’t try to color your hair while it’s tangled; the product is bound to be unevenly distributed. Brush out your hair first, and then divide it into four sections: “Part [it] in the middle all the way back, down to the nape of your neck,” he said. “That’s your first section, those are your two. Then go to the apex – you can find the apex by laying the comb on your head and finding the highest point of your head – [and] make a section from the apex to behind the ears.”
Step 3: Pay Attention to the Developers You’re Using
Not all developers – the liquids that you mix with bleach or dye to activate the color – are created equal. Lots of hair dyes work with developers that come at different volumes: 10, 20, 30, and 40. In the video, Mondo explains that 10-volume developer is normally used for anyone trying to permanently darken their hair since it doesn’t have any lightening effects – it just helps deposit the color.
On the other hand, 20 volume helps to darken or lift the hair while also covering up gray hair, while 30 and 40 volume can both lighten naturally dark hair by a few levels, though ideally if you’ve never lightened your hair before, you shouldn’t go above 30 volume.
Step 4: Do Your Roots Last
To avoid what Mondo calls “hot roots,” which occur when the color applied to your roots develops more than the color applied to your ends, don’t start coloring your hair from the roots. The heat from your scalp can cause the color to develop faster, meaning you should always start coloring from the ends up.
Step 5: Rinse With Warm Water
Because dyeing your hair can cause your head to emit more heat, it might seem tempting to rinse out the product with cold water, but this might shock the cuticles and lead to breakage later. Once you get to the cleansing stage, gently massage your scalp as you rinse out the product under warm water.
Step 6: Take Proper Care of Your Hair Afterward
The work doesn’t just stop at coloring your hair; you also have to take care of it afterward. That way, should you need to go back and touch it up, it’s in a healthy condition to take more color.
A Manicurist's Tips For Removing a Dip Manicure
You don’t need to wait to visit the salon to remove your dip manicure; in fact, removing them at home is a breeze. This specific manicure is “the easiest to remove because it uses a cyanoacrylate: a simple nail glue that is more sensitive to solvents,” said Risé Carter, director of education at LeChat Nails, meaning that dip removes easier than traditional gel manicures. Here’s exactly how to do it to avoid drying out the skin around your nails in the process.
Step 1: Buff the Nails
First, you’ll want to buff the shine off the nail surface with a buffer block, Carter explained. Then, reach for 100 percent pure acetone (you can buy this from most beauty supply stores).
Step 2: Grab a Bowl
Loosen the cap, and place the bottle of acetone into a glass bowl of warm water for approximately 10 minutes. This will warm the acetone and make the process quicker. Afterward, empty the water out, and pour the acetone into the bowl.
Step 3: Choose Your Removal Method
Carter said there are two options for removal: you can either soak the nails and place a dry towel over the hand and bowl, or use a saturated cotton pad on the nail and wrap your fingers in a small piece of foil. Then kick back and relax, leaving the acetone to work its magic on the nails for 10 to 15 minutes. (Carter advises you don’t keep looking to check it, just leave it be.)
Step 4: Remove the Remnants of Dip Powder
Finally, gently lift the dip powder off and wash your hands. If the dip powder hasn’t quite lifted, place back into the acetone for a further 10 minutes.
Step 5: Hydrate the Area
The worst thing a DIY dip manicure could do is cause drying of the skin around the nails, so make sure you stay hydrated by applying a good cuticle oil or hand lotion to area afterward.
A Hairstylist's Tips For Cutting Men's Hair
Kim Kardashian’s hairstylist Chris Appleton had been getting a swarm of requests for a how-to on cutting men’s hair at home, so he shared a video on Instagram detailing the process from start to finish in under five minutes. All you’ll need are clippers, scissors, a comb, and sectioning clips.
Step 1: Section the Hair
Start by sectioning the hair with the clips to mark the difference between the longest areas (the top of the head) and the shorter areas (the sides of the head). Appleton sectioned from the temple to the back of the head.
Step 2: Select Your Clipper Length
Using the clippers, use an attachment that’s slightly longer than you would normally go for. This will allow room for some mistakes without botching the entire haircut. In the demo, Appleton said he usually uses a 3 but opted for a 4.
Step 3: Buzz the Sides
Always start at the front of the head and work your way back. In front of the ear at the temple, lay the clippers flush against the head and move in an upward motion. When you reach the end of the path you’re cutting, flick the wrist up. Continue doing that until you reach the back of the head. Then, switch to the other side and meet in the middle.
Step 4: Create the Fade
To fade the sides and back of the head, use a slightly shorter attachment than you used in step two. Follow the same cutting process from the front of the head, except this time, only trim about halfway up on the sectioned hair – remember the flick. This will blend everything together.
Step 5: Blend at the Top of the Head
Once you’ve finished the sides of the head, take out the sectioning clips, grab the scissors, and wet the hair at the top of the head slightly. To blend the longer hair in with the fade, Appleton said to imagine a half-circle shape on the top of the head. You want to trim the hair shorter on the sides of the imaginary “circle” using the comb and scissors.
Step 6: Trim the Very Top
At the top of the head, cut to the desired length with a point cut – remember this is where you want to keep most of your length. A point cut is when you hold the scissors perpendicular to the hair to add texture and keep the ends more natural.
Step 7: Cut the Front
Finally, trim the front piece of hair with a point cut by pulling it backward – this will keep a little length in the hair when you lay it flat again. Appleton’s number one tip is to go a little bit longer when you cut hair at home so you can go back in and shorten it if needed.


